Get ready for a makeover that’s stylish and totally functional. These ideas prove you don’t have to choose between form and function—you can have both, plus a smile on your face every time you prep.
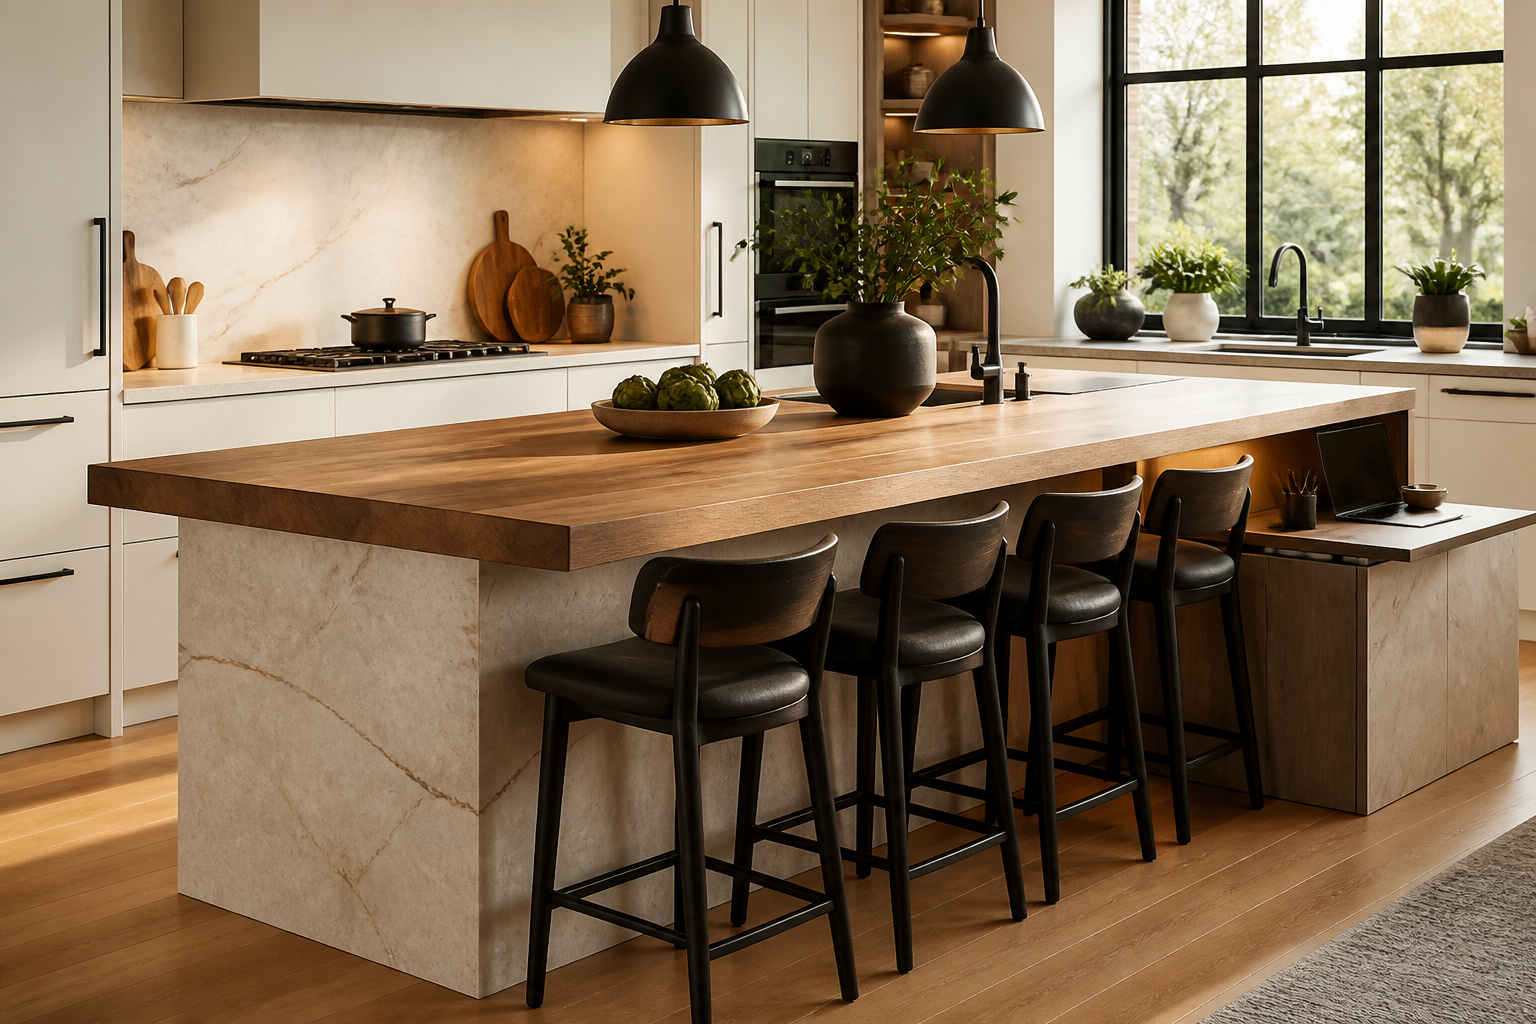
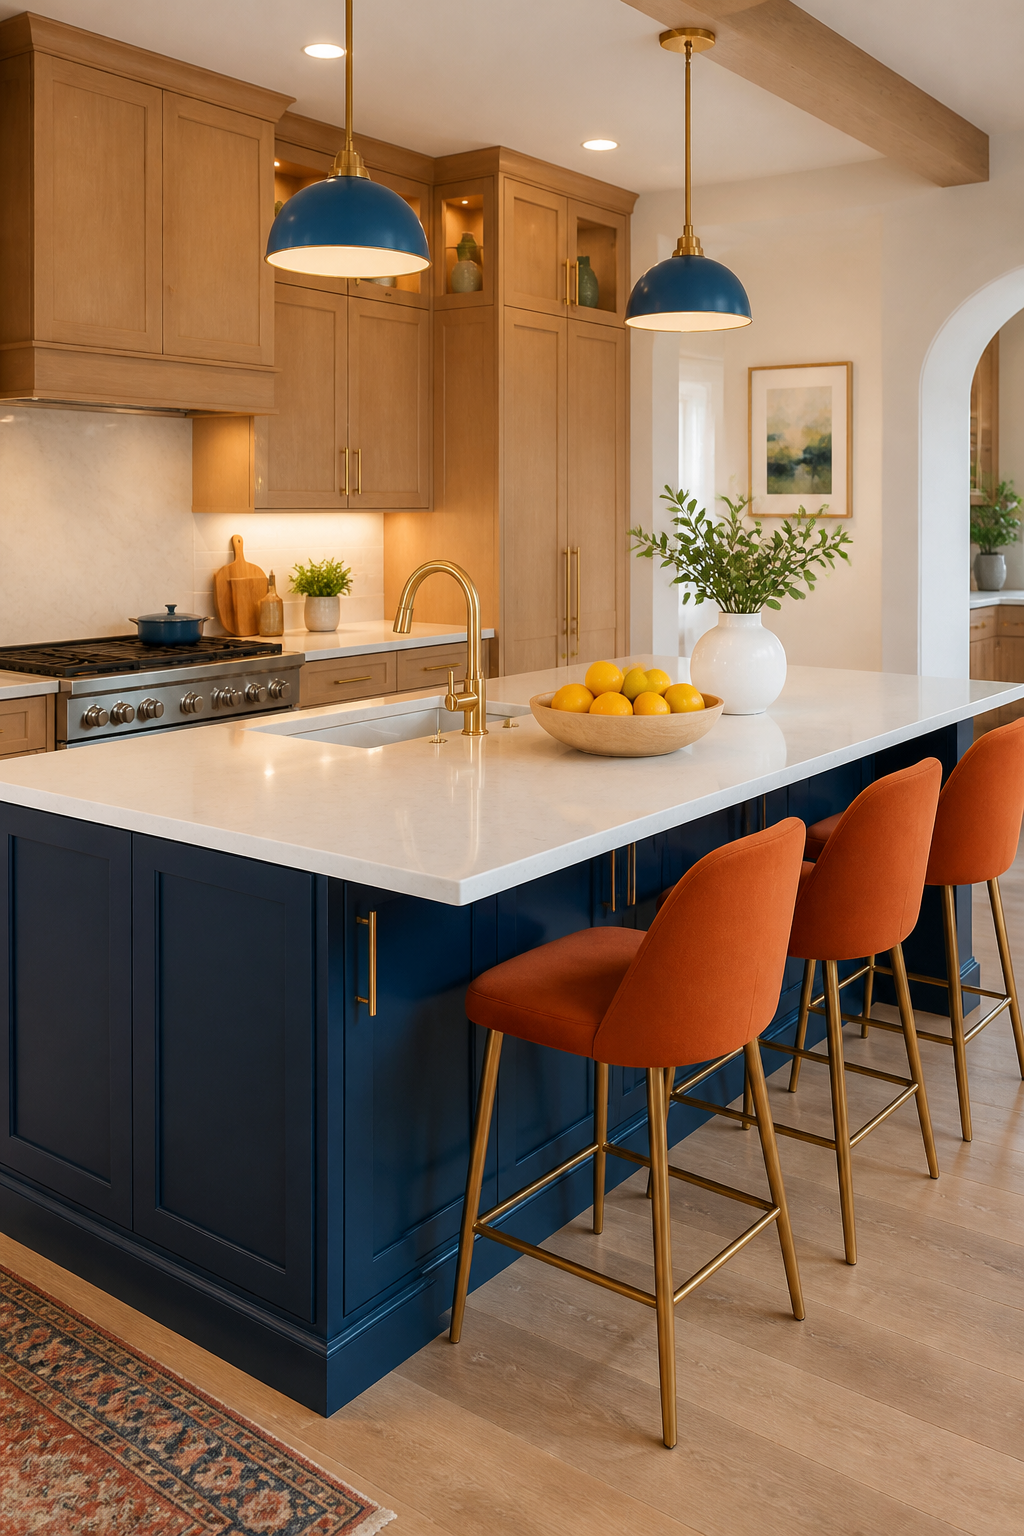
1. Extend The Countertop: Big-Bite Bar Space
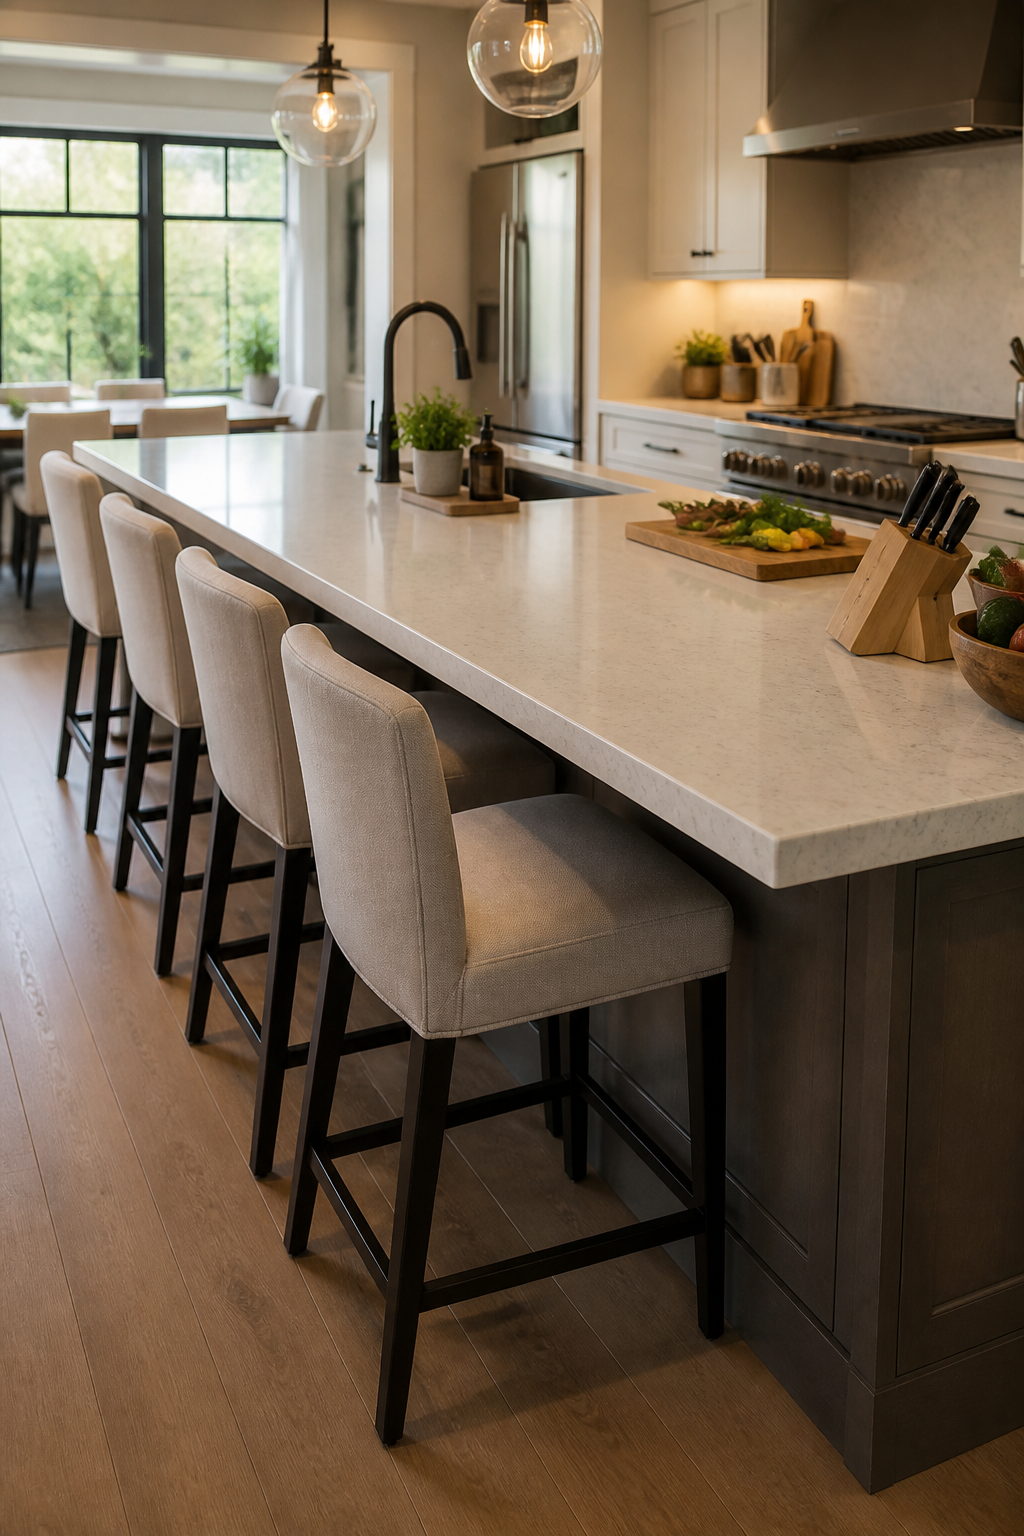
Transform your island into a social hub with an extended countertop that doubles as a casual dining bar. It invites conversation and gives you extra prep space in one go. No more crowding around the sink while you chop garlic.
Key Points
- Overhang for seating (12–18 inches)
- High stools with back support
- Edge profile that suits your style (square, rounded, or waterfall)
Pro tip: Run the extension on one side only to keep traffic flow smooth. FYI, guests will linger longer and that’s totally a win.
2. Incorporate a Hidden Workstation
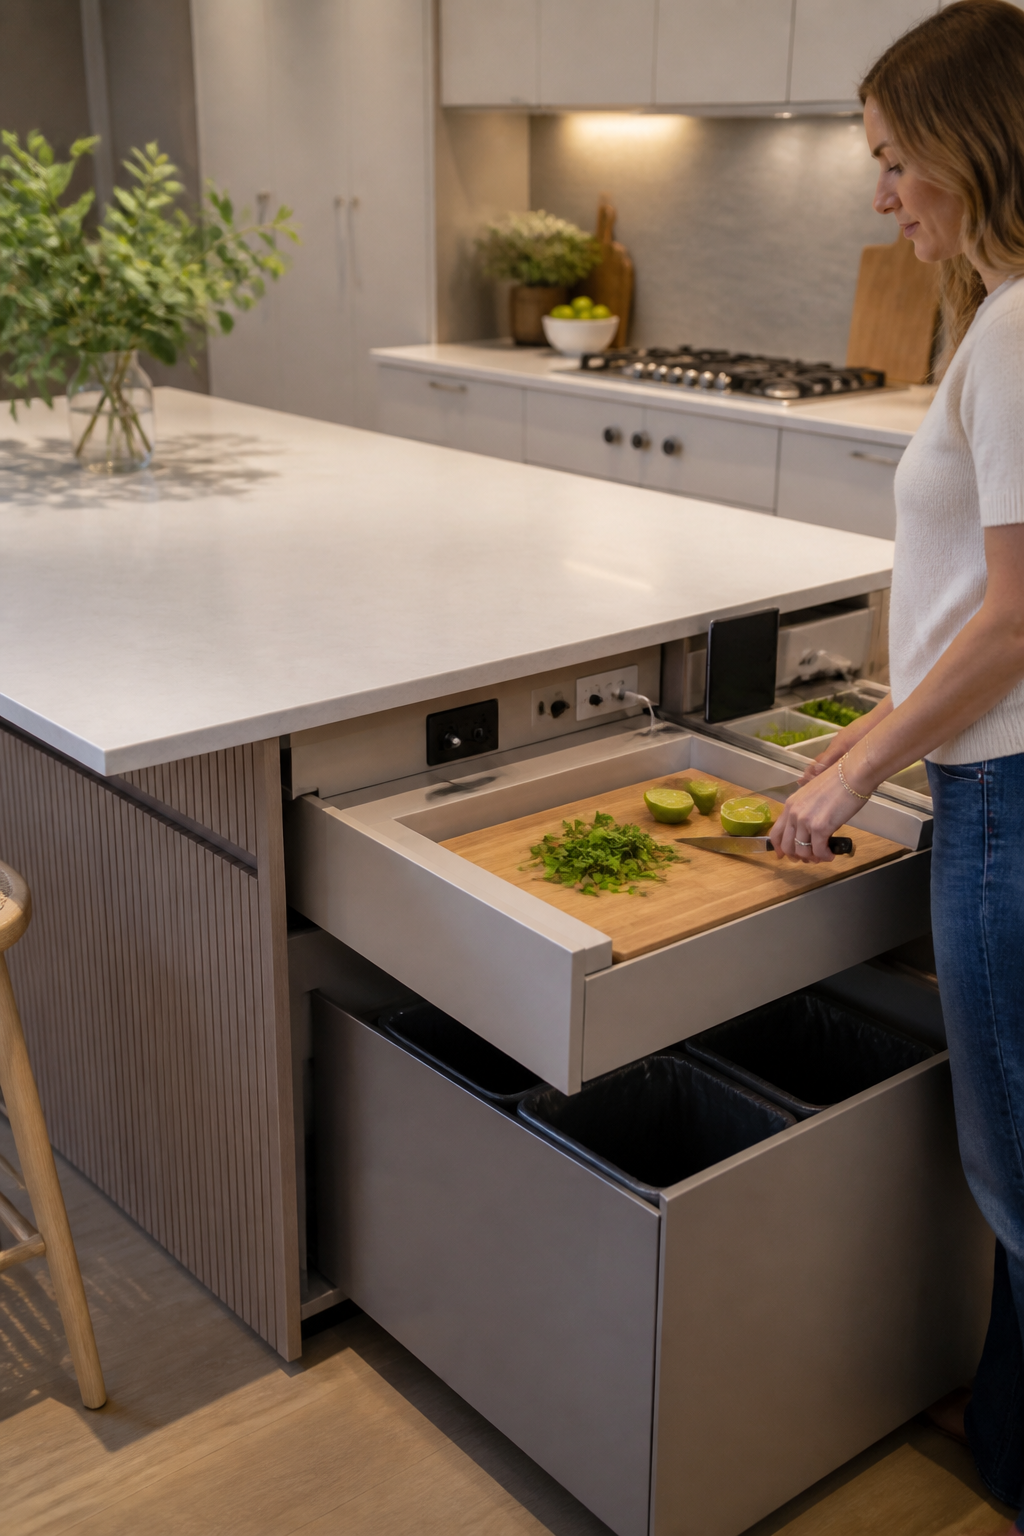
Who says you can’t hide the messy stuff? A concealed prep space or pull-out cutting board keeps the island looking sleek while you crank out meals. It’s like magic, but with better outcomes.
Why It Works
- Slide-out chopping board or tray
- Dedicated trash/recycling bin space
- Integrated power outlets for gadgets
Use it for quick prep or crumb-free serving, and your guests won’t even notice the magic trick happening behind the scenes.
3. Add Warmth With Natural Materials
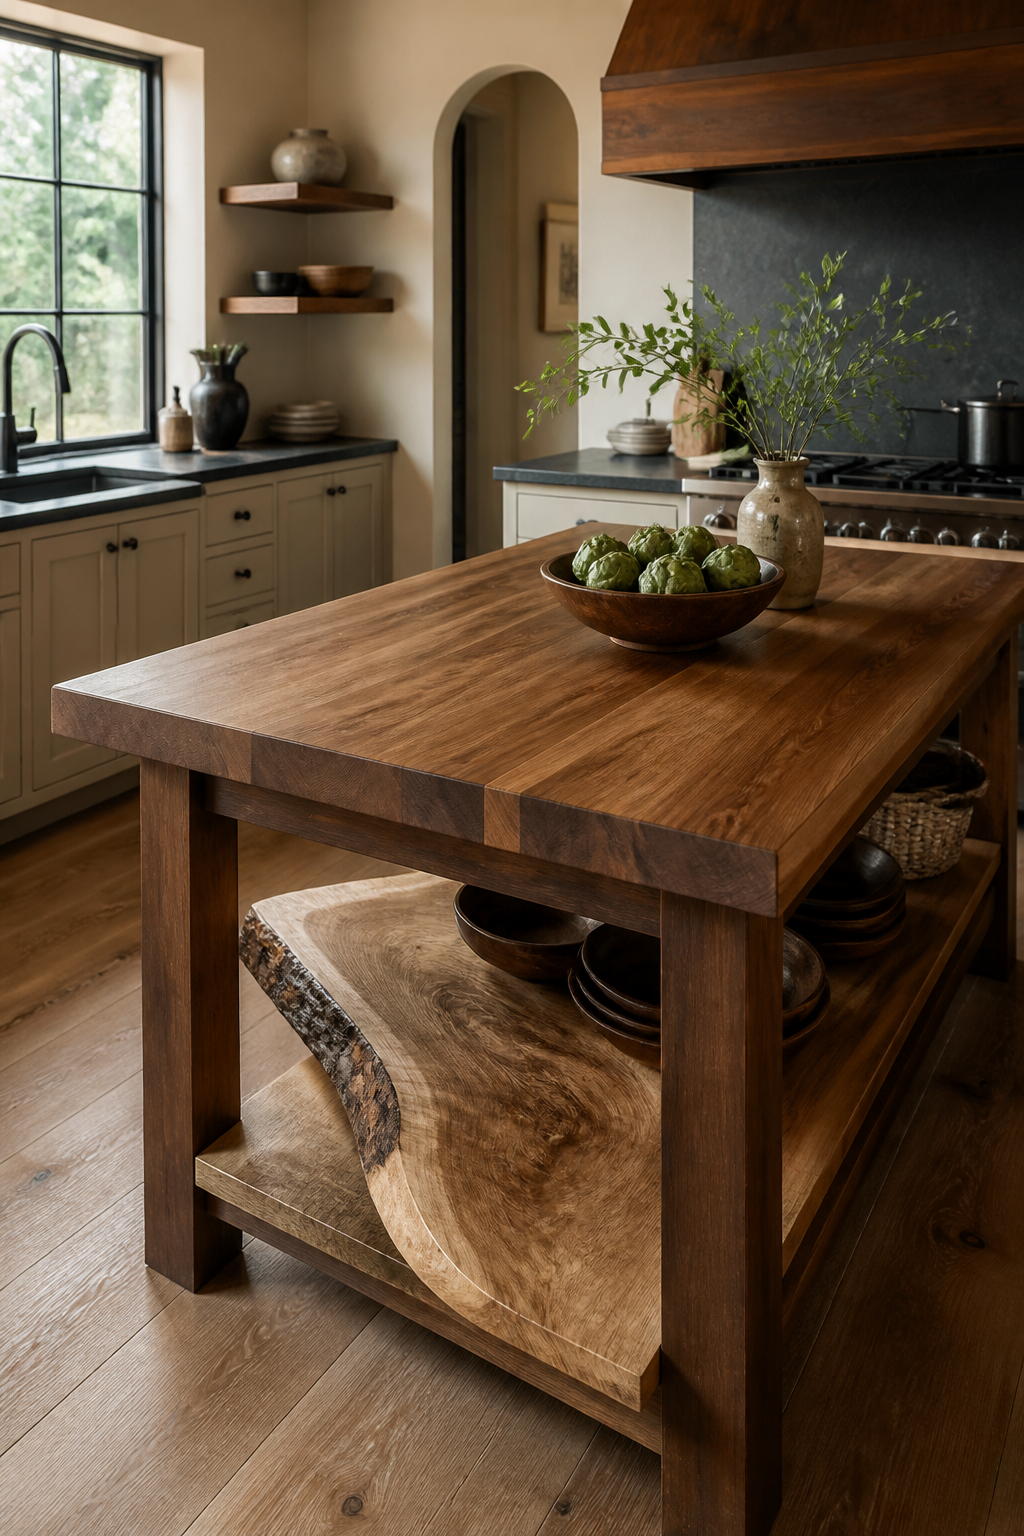
Wood accents never go out of style. A butcher-block top, walnut veneer, or live-edge slab adds warmth and character to your kitchen lore. It’s the small detail that makes everything feel grounded.
Material Ideas
- Butcher-block top for prep durability
- Walnut or maple legs for contrast
- Stone or soapstone sealer for longevity
Tip: Balance busy countertops with calmer cabinetry to keep the look cohesive. Seriously, it’s all about harmony.
4. Plan For Practical Storage: Drawers, Not Just Doors
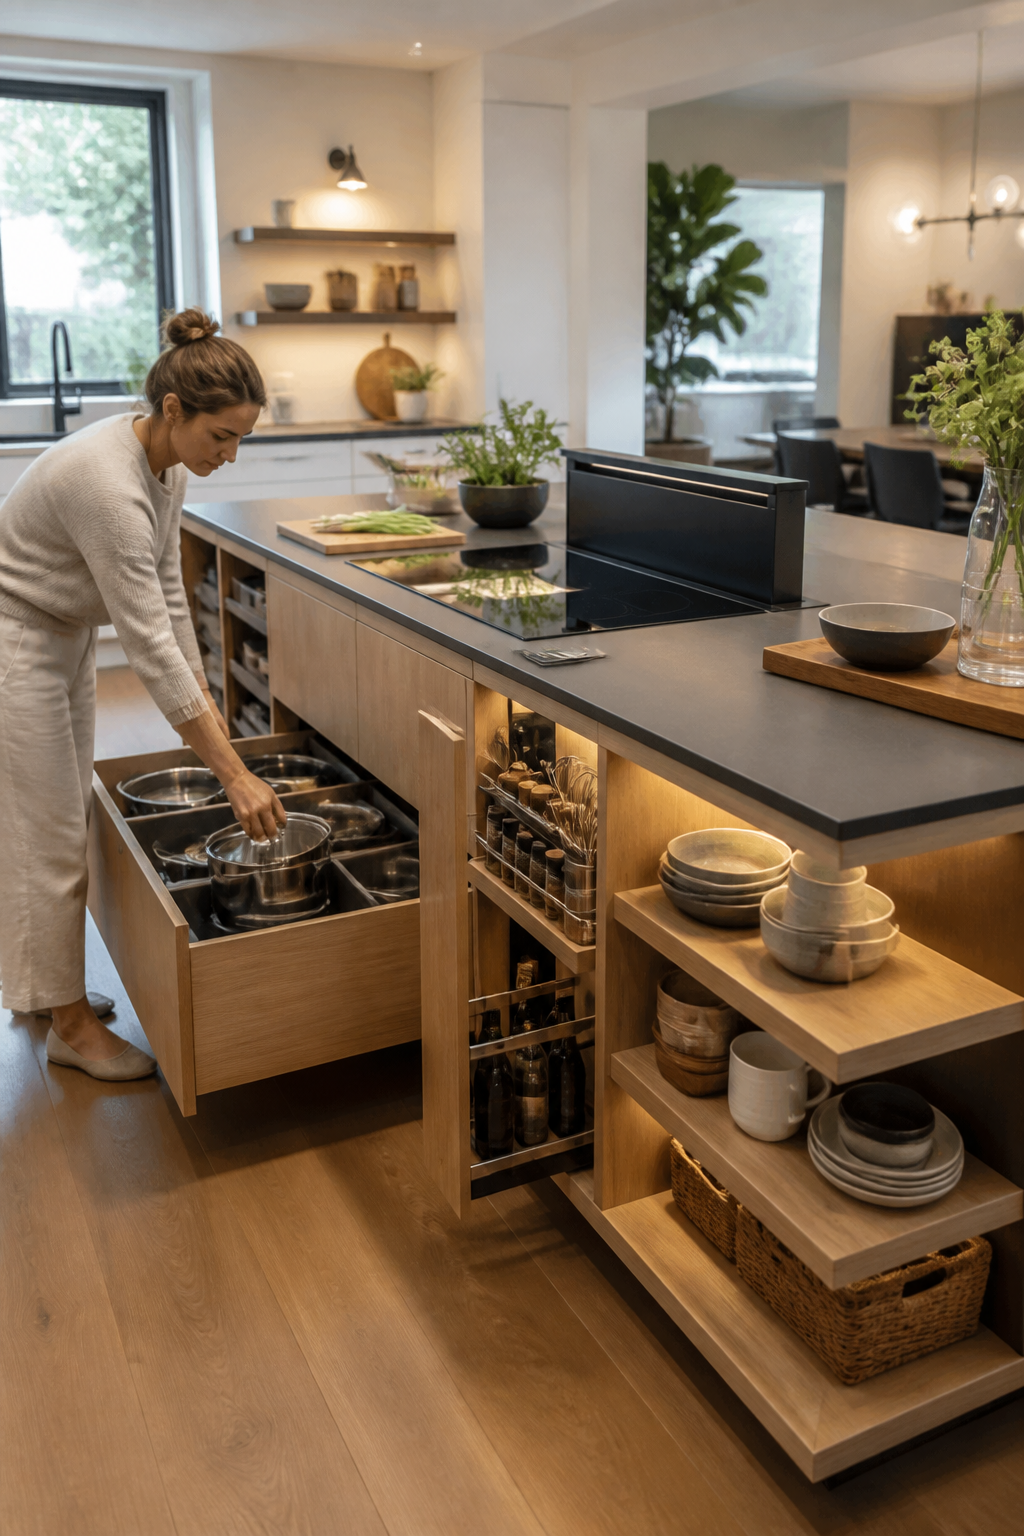
Avoid the dreaded island clutter by packing it with drawers, racks, and clever organizers. It’s all about easy reach and tidy spaces, not a cabinet conundrum.
Smart Configurations
- Deep drawers for pots and pans
- Pull-out spice and utensil organizers
- Open shelves for frequently used items
Think in zones: prep, cooking, and serving. Your future self will thank you every time you find your whisk in two seconds.
5. Install a Built-In Sink Or Beverage Nook
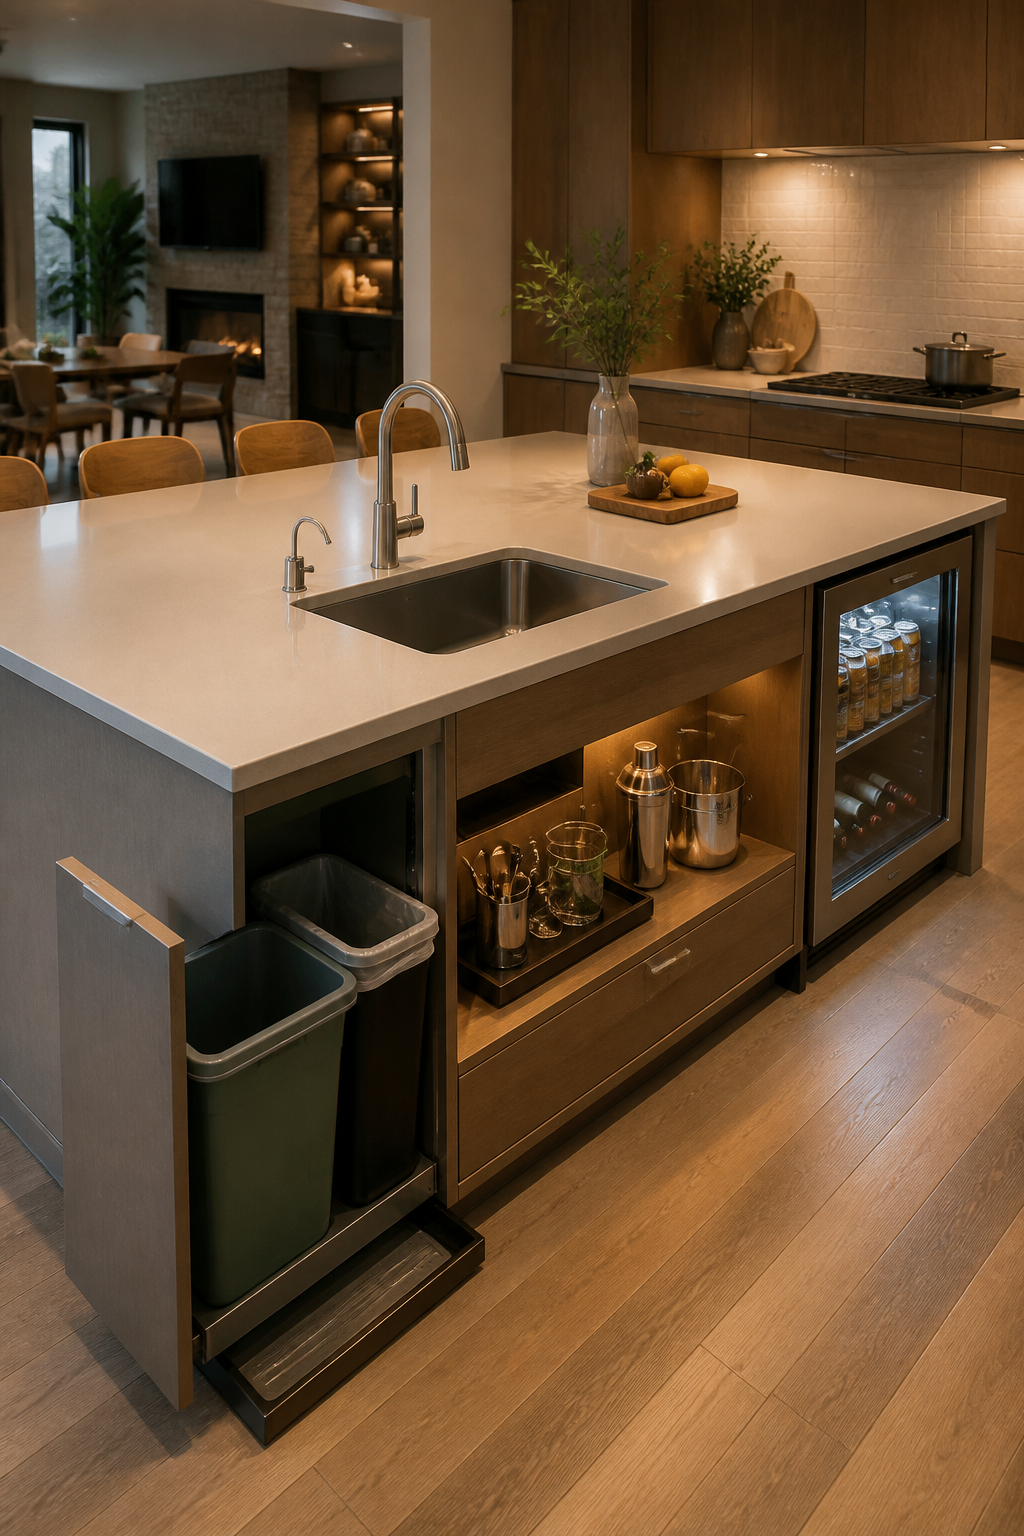
If you spend a lot of time at the island, a built-in sink or a dedicated beverage nook can be a total game changer. It keeps cleanup close to the action and clean dishes away from the main prep area.
Options To Consider
- Under-mount or saddle sink for sleek lines
- Mini fridge or beverage cooler integrated into the island
- Waste disposal and recycling within easy reach
Bonus: a small drip tray keeps the surface tidy during party prep. Trust me, guests love a smooth flow when you’re entertaining.
6. Add A Dual-Height Island For Flexibility
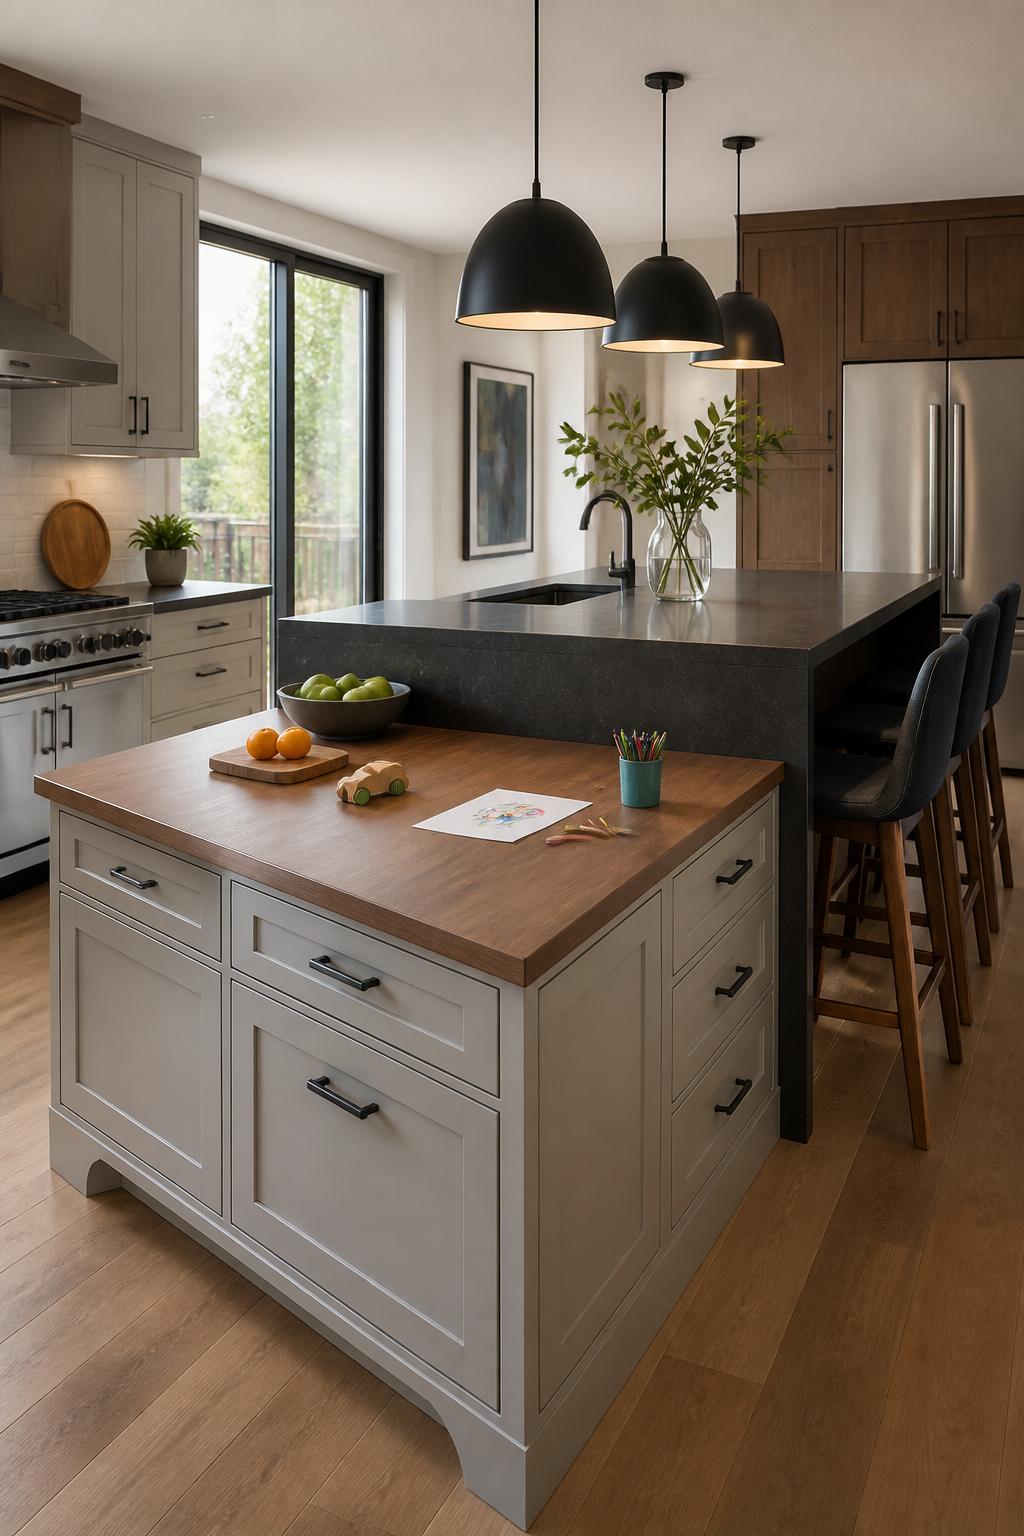
One island, two heights, double the possibilities. A lower area for kneeling down and a higher bar-height section for guests creates a versatile hub suited for food prep, kids’ projects, and late-night snacking.
How To Do It
- Lower work surface around 34 inches
- Upper bar surface around 42 inches
- Clear visual separation with a color or material change
IMO, this setup is unbeatable for families and entertaining. It adapts as needs shift without a full remodel.
7. Maximize Lighting For Both Mood And Task
<p Good lighting isn’t just about vibes; it’s about making prep safer and more precise. Layered lighting over an island keeps shadows at bay and highlights your design choices.
Lighting Layers
- Ambient ceiling lights to set the scene
- Task lighting directly over the work area
- Accent lights to showcase shelves or displays
Pro move: use dimmers so you can switch from chopping to dinner party ambiance in seconds. You’ll feel like a pro on the set of a cooking show.
8. Create a Color Story That Pops
Color can make or break the vibe. A cohesive color story on the island anchors the space and makes everything feel intentional rather than random.
Design Angles
- Contrast cabinet color with the island top
- Add sassy color accents in bar stools or decor
- Keep metallics consistent for a polished look
FYI, a bold island can be a focal point without shouting. It’s like wearing a statement accessory that ties the room together.
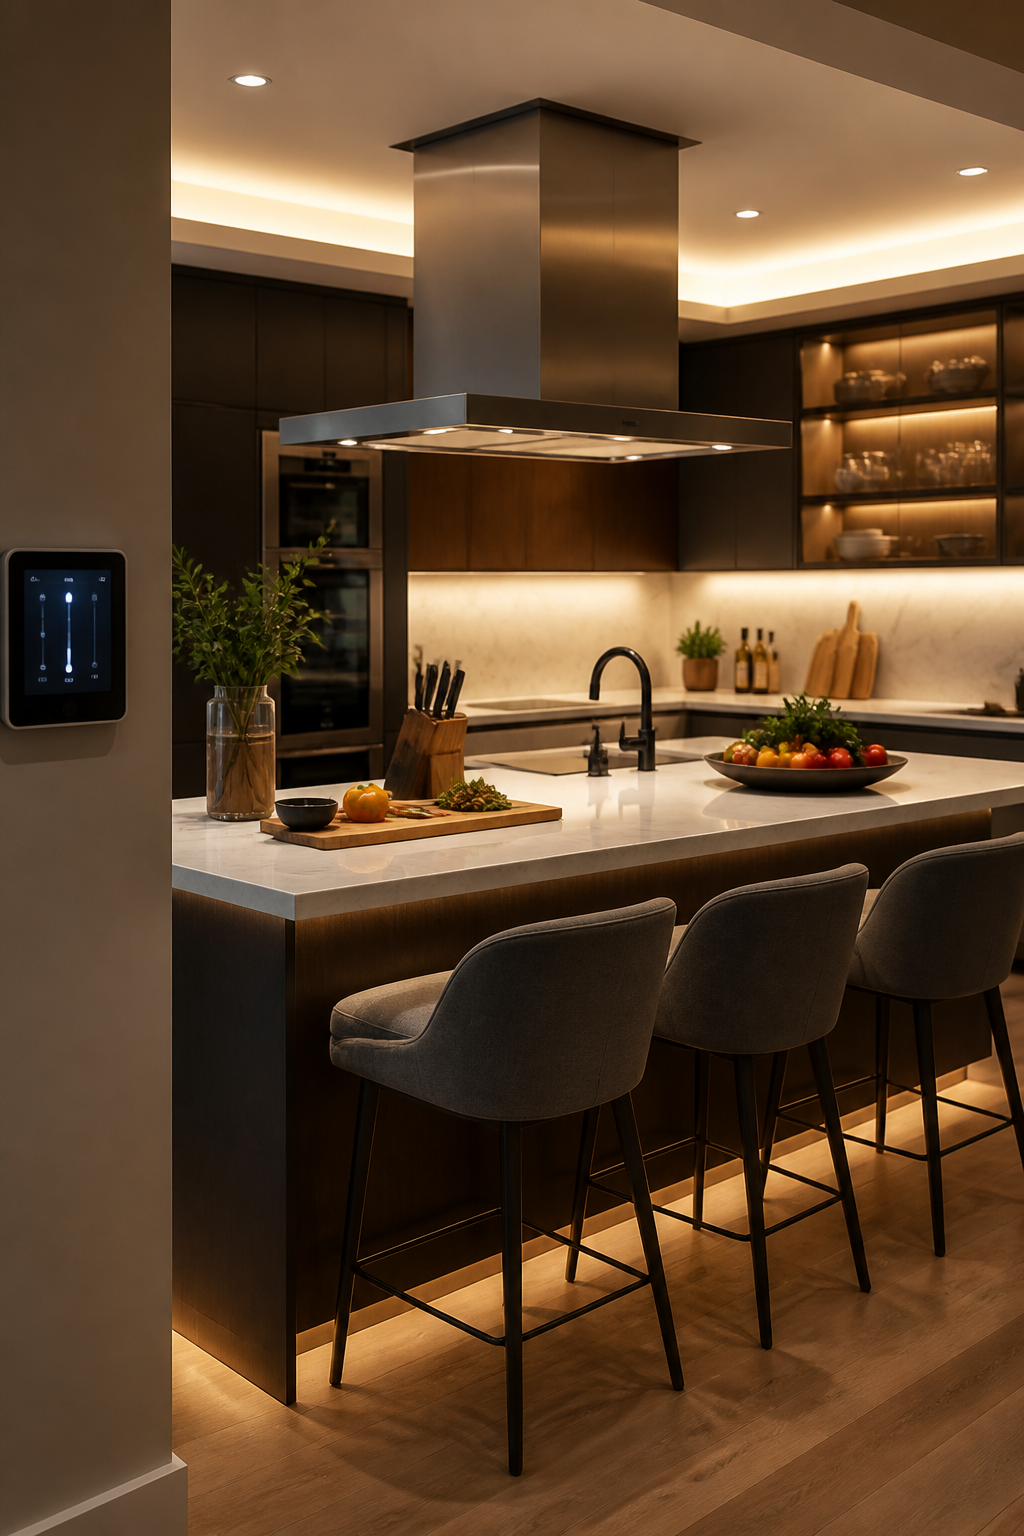
9. Integrate Tech With Taste
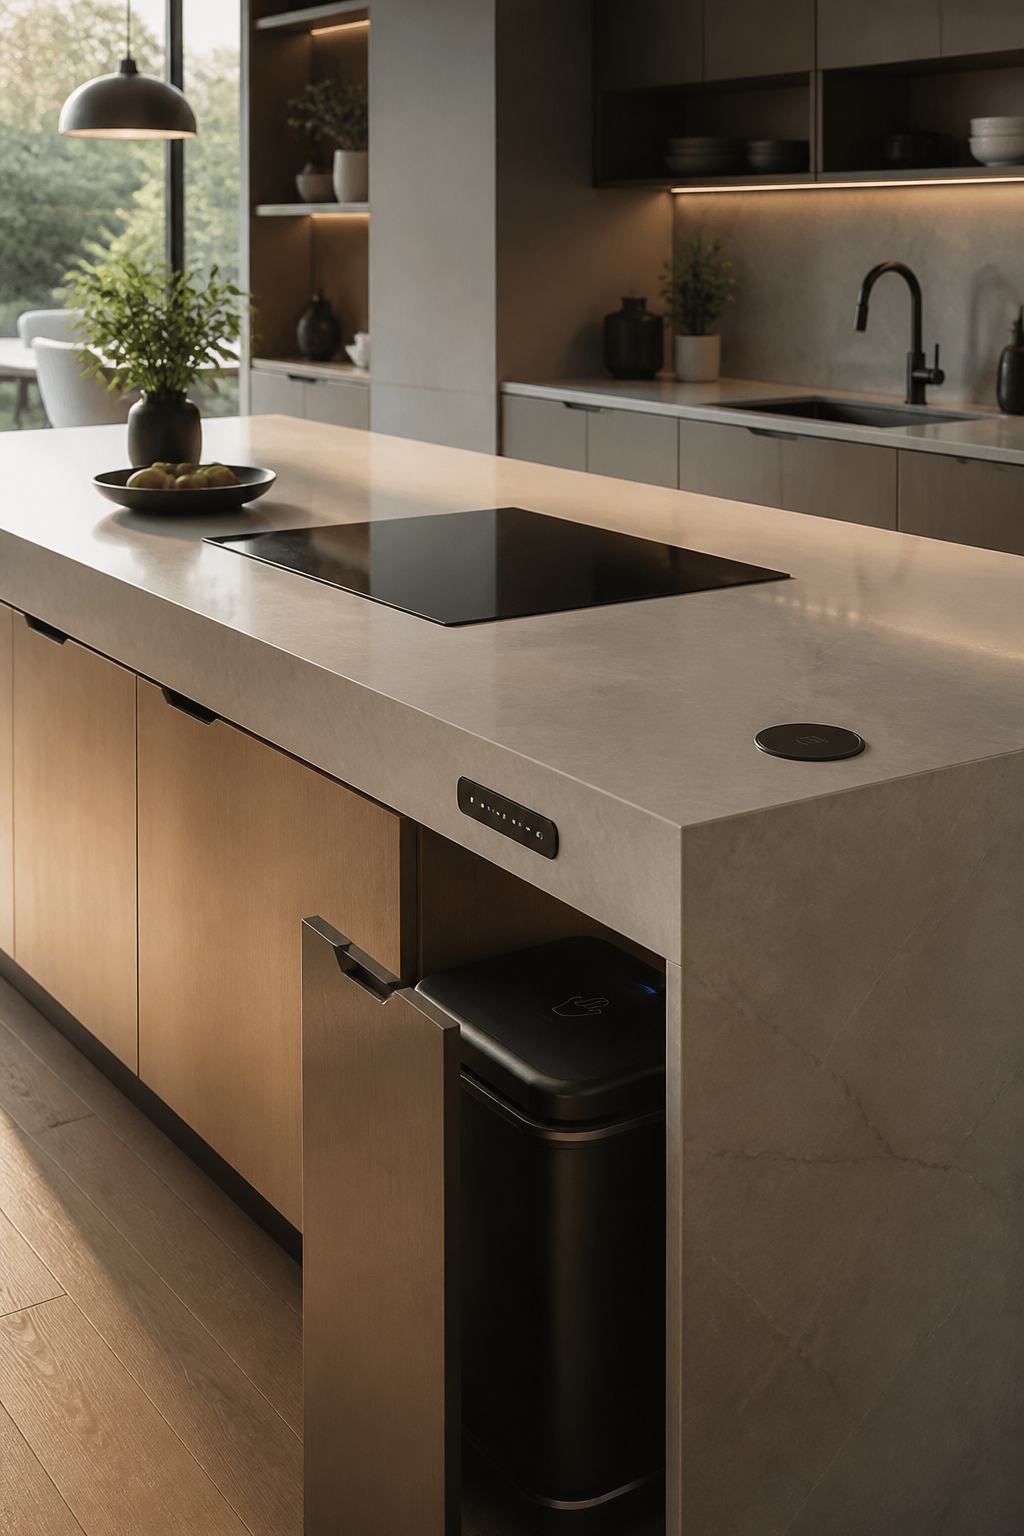
Smart appliances and hidden tech keep your kitchen future-ready without looking like a sci-fi set. Subtle, smart touches add convenience without crowding the aesthetic.
Tech Touches To Consider
- Induction cooktop flush with the surface
- USB-C outlets and wireless charging stations
- Smart trash can with sensors
Tech that blends in quietly earns major brownie points. Seriously, you’ll wonder how you lived without it.
10. Turn The Island Into A Tiny Kitchen Studio
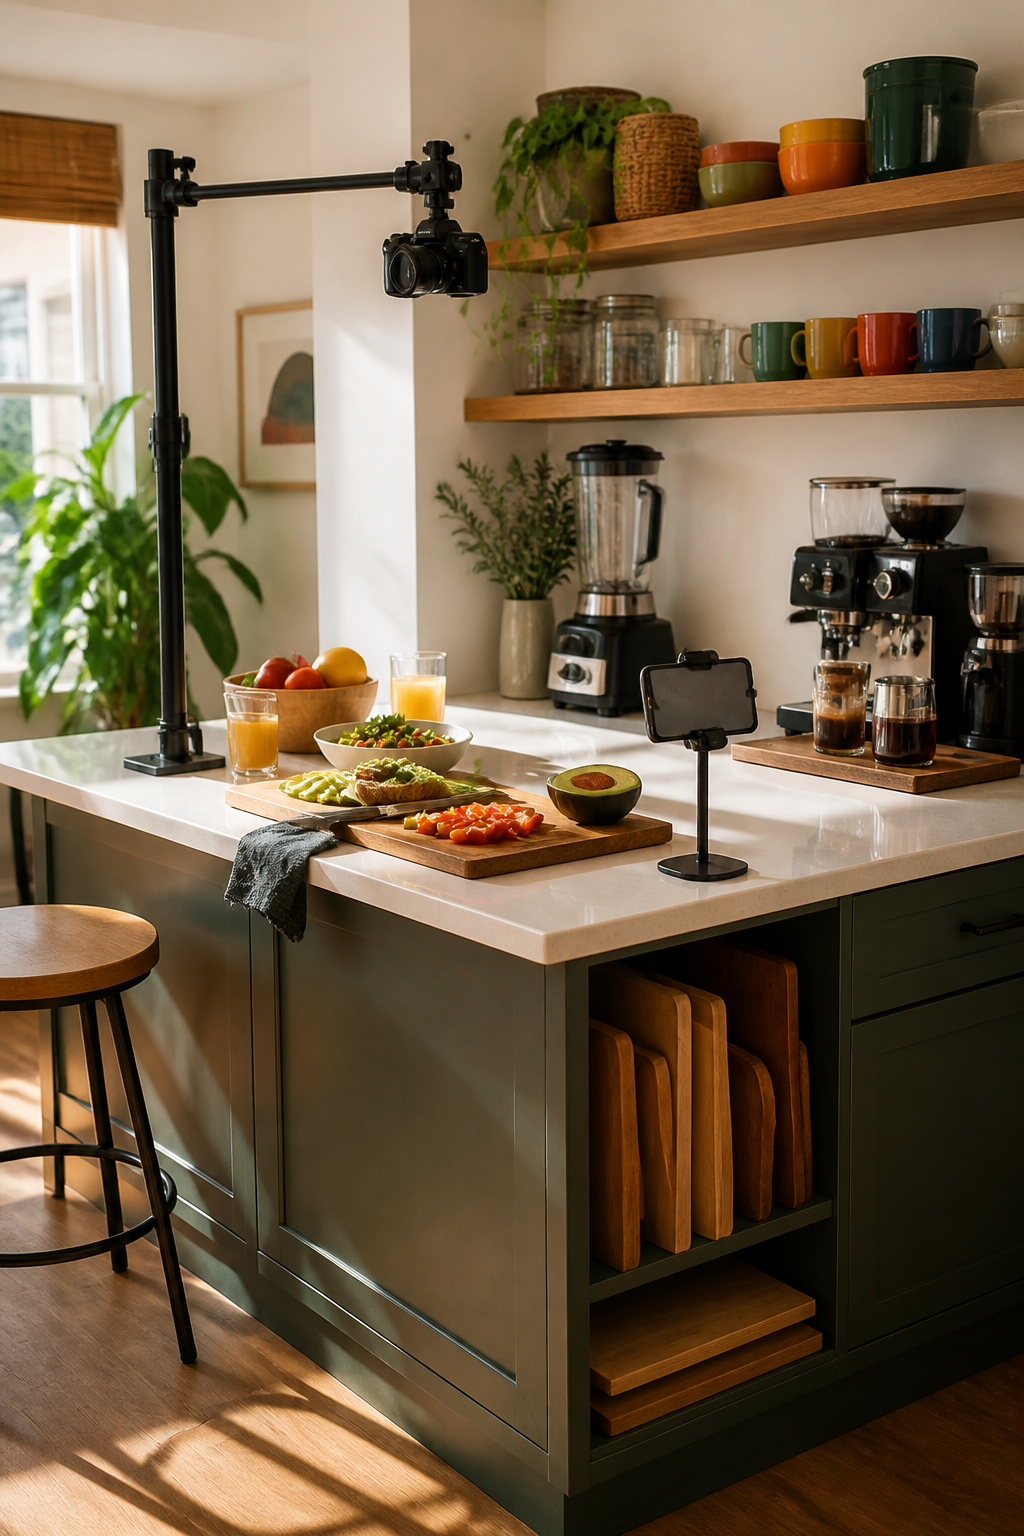
Accessorize with a dedicated setup for quick meals or filming your own tiny kitchen show. A few functional props and a clean backdrop make it feel bigger and more professional.
What To Include
- Cutting boards stored upright on a rack
- A compact mixer or blender station
- Open shelves with glassware and colorful containers
Use this space for weeknight dinners or weekend brunch prep—either way, you’ll be the star of your own little show.
11. Mind The Flow: Traffic Patterns Matter
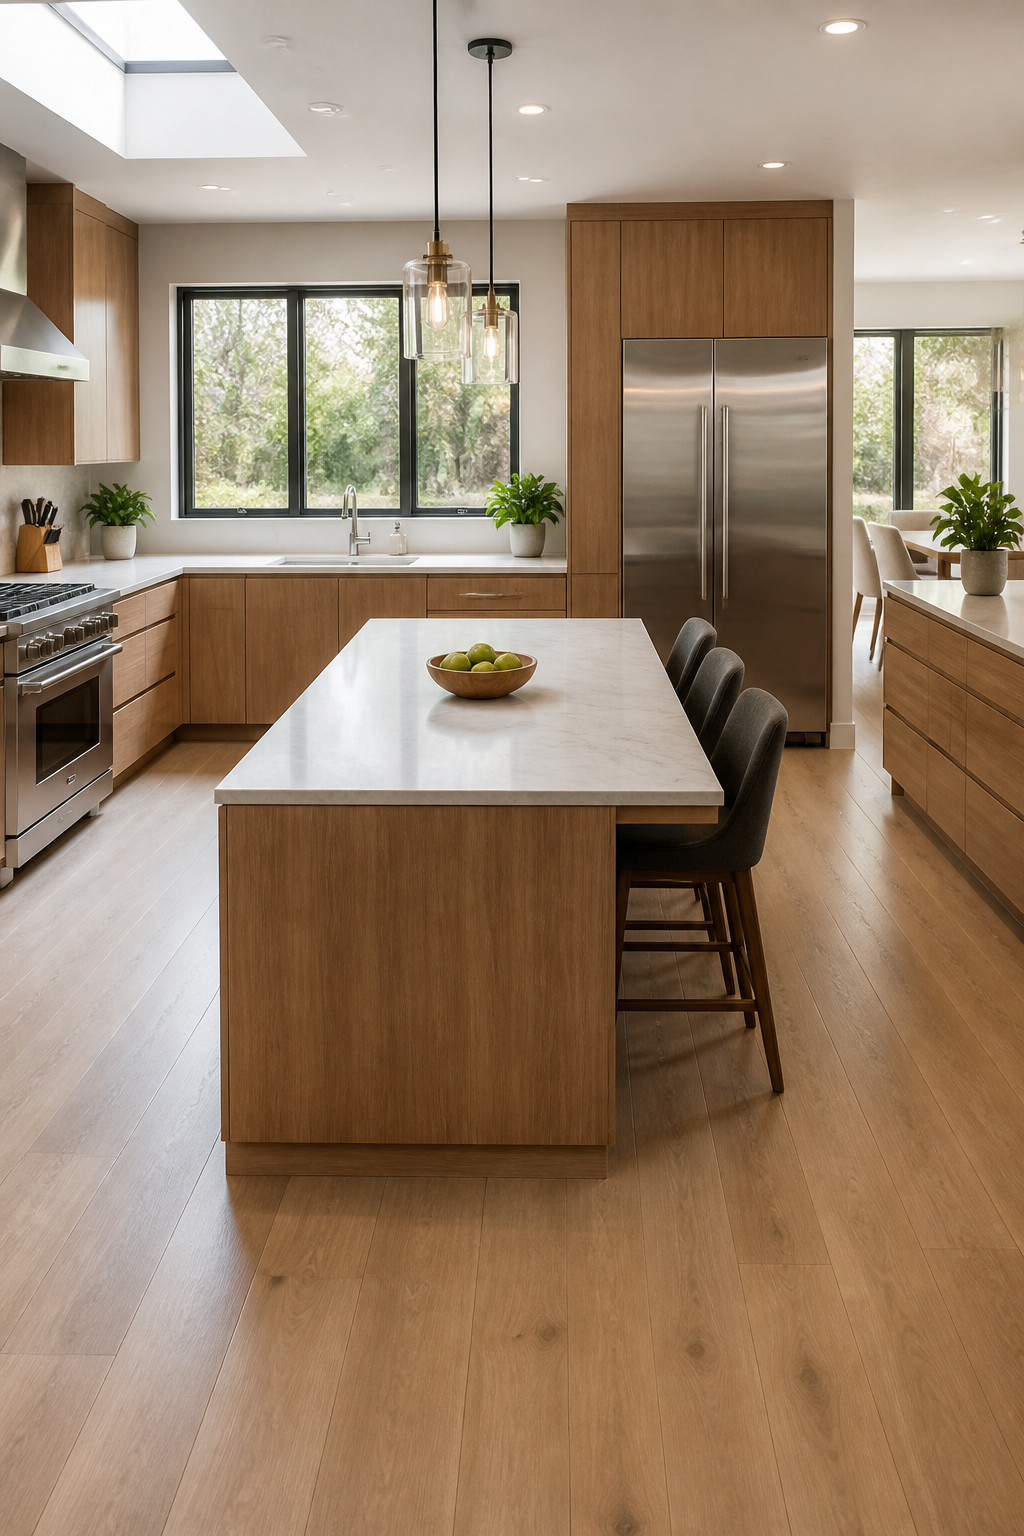
Finally, design with flow in mind. An island should enhance movement, not trap you in a cul-de-sac of dishes and clutter. Plan for at least 3 feet of clearance on all sides so people can pass through without bumping elbows.
Flow Essentials
- Clear zones between prep, cooking, and dining
- Access to adjacent counters and appliances
- Minimal visual clutter for a clean, tidy look
When the island works with how you live, cooking feels effortless and social moments stay smooth. Seriously, flow is everything.
With these 11 ideas, your kitchen island becomes more than a surface—it becomes your favorite coworker, party host, and design anchor all in one. Pick a couple that fit your space, mix textures, and have fun experimenting. You’ve got this, and your kitchen is about to thank you.
Ready to start? Dive in, pick your favorites, and watch your space transform from practical to irresistibly stylish. You’ll be glad you did, and so will everyone who walks into your kitchen.