These budget-friendly hacks deliver big wow factor without draining your wallet. Get ready to transform your space with clever, crafty touches that scream “gorgeous” instead of “grandma’s attic.” FYI, you’ll be surprised how simple and fun these are.
1. Glam Ghosts Made from Cheesecloth
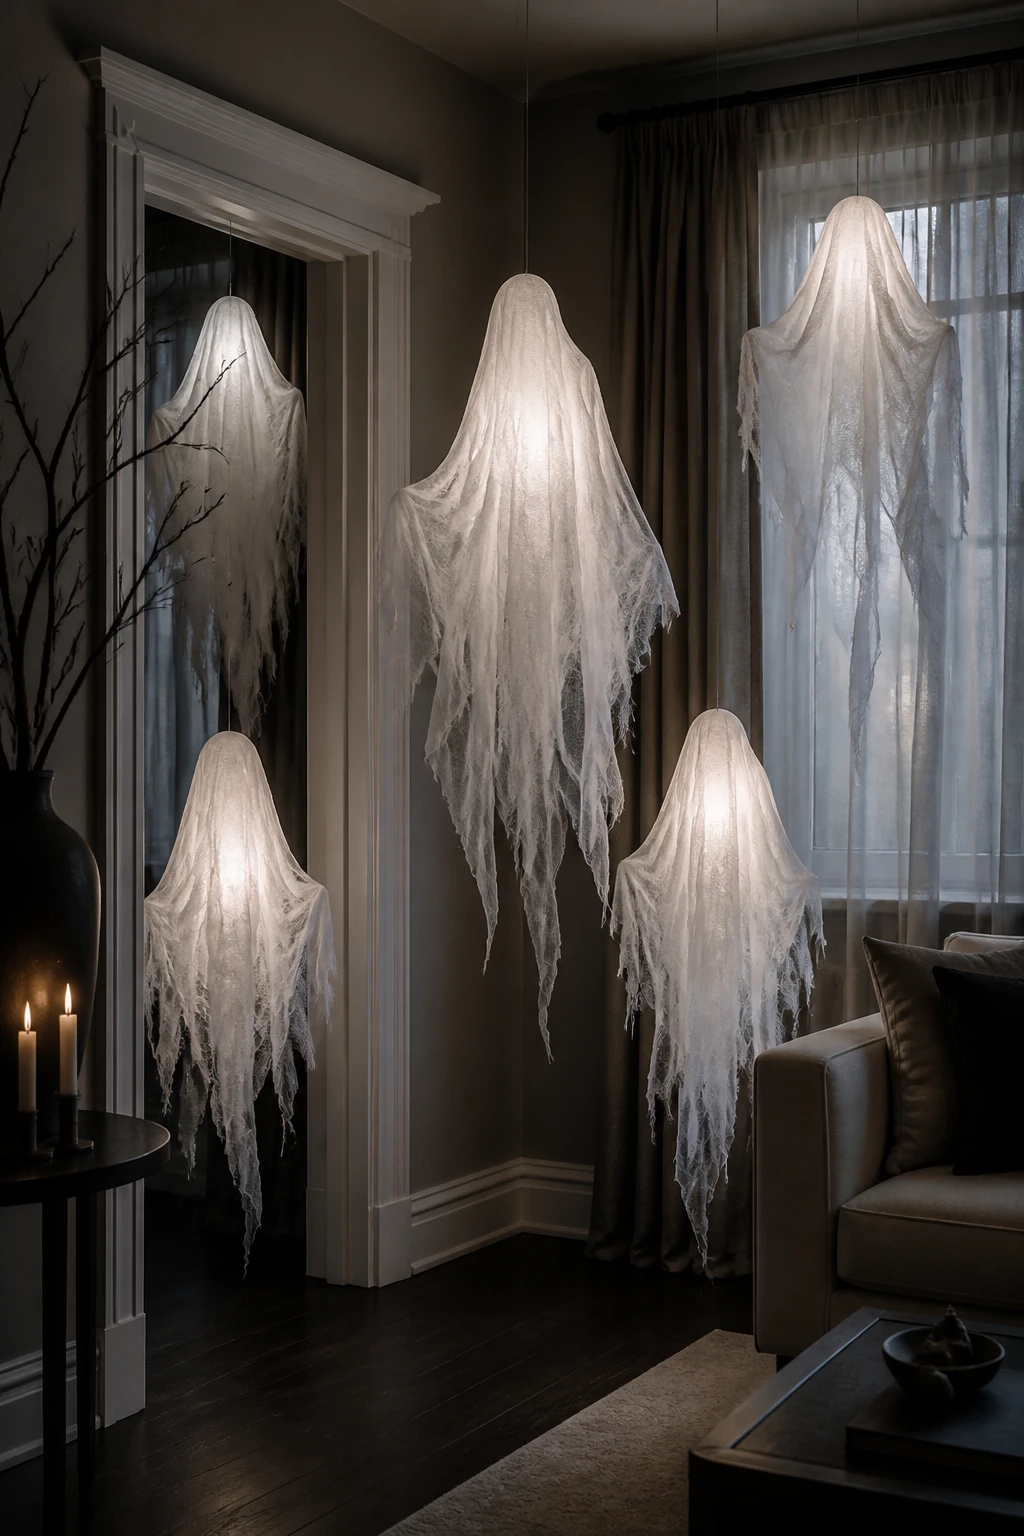
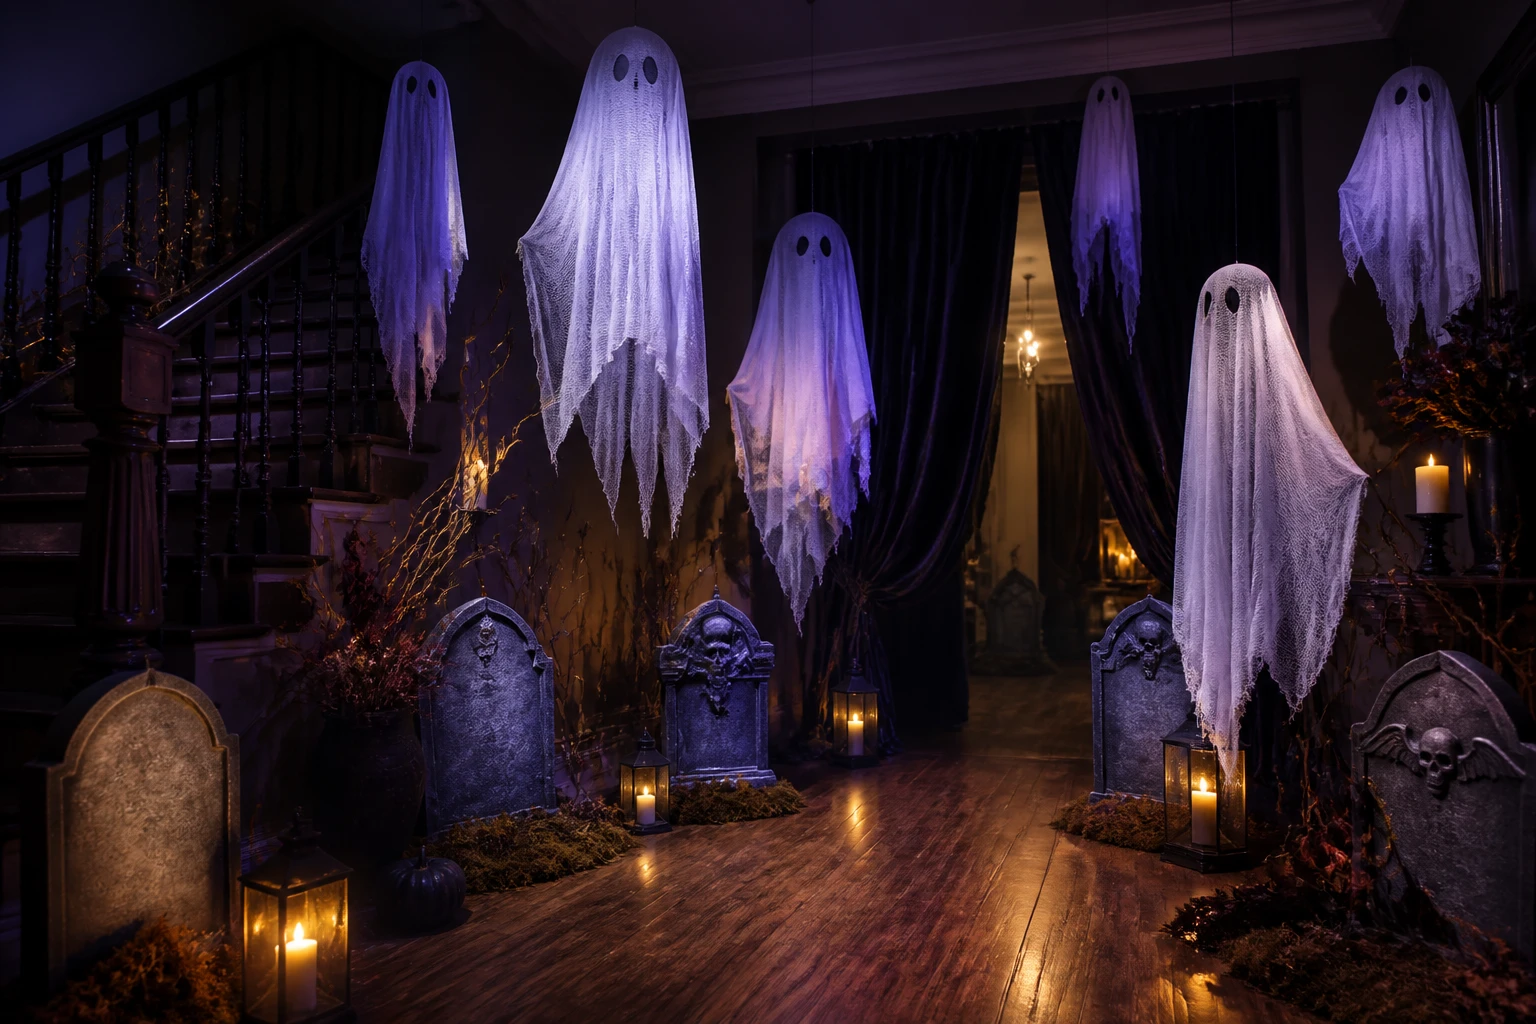
Glam ghosts are the easiest, most dramatic drop-in decor you can pull off. Cheesecloth draped just right gives you that hauntingly chic look without a single electronic gizmo.
Key Points:
- Use white cheesecloth, cut into irregular shapes for an ethereal vibe
- Stuff loosely with tissue paper to create volume
- Hang at varying heights for a haunting playlist of silhouettes
Hang them along doorways or in a window for an airy, spectral glow. It’s spooky, stylish, and seriously simple.
2. Carved Foam Tombstones on a Budget
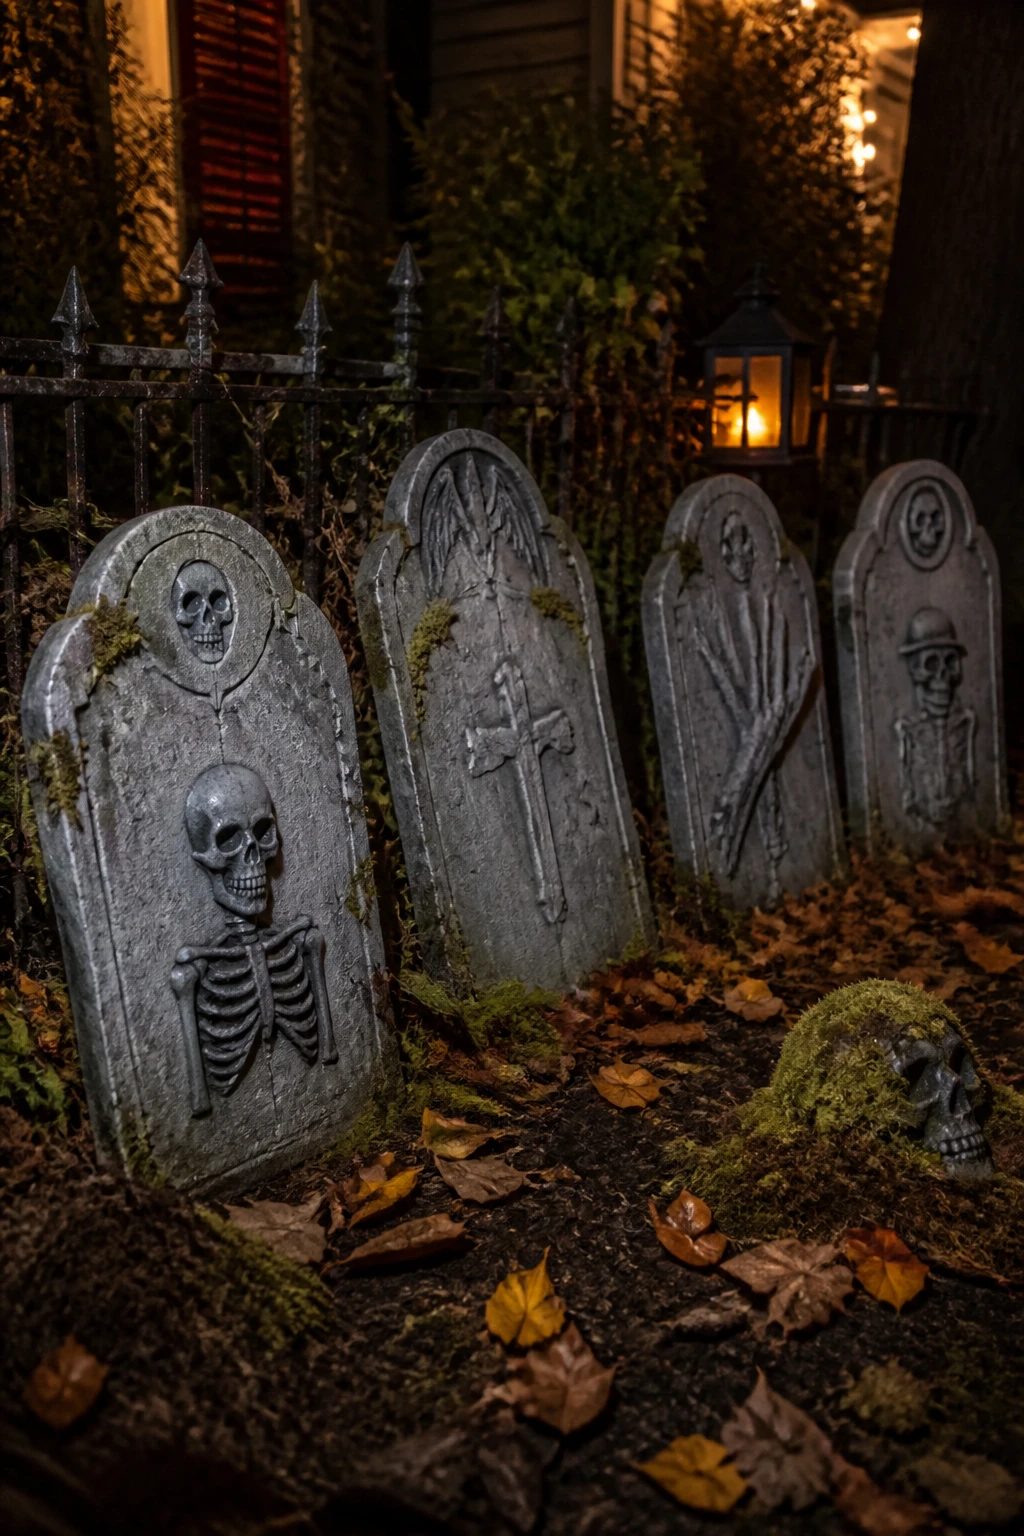
Who says you need real stone to pull off a graveyard? Foam tombstones with carved messages give you big impact with minimal cost and maximum spookiness.
Tips:
- Cut from inexpensive foam boards, then prime and paint in grays and aged whites
- Use a sharp serrated knife for easy, crooked edges for that authentic tombstone look
- Add humorous epitaphs to soften the scariness and boost giggles
Place them in a mini graveyard scene in the yard or hallway. Bonus: lightweight and weather-friendly if you bring them inside after sunset.
3. Candle-Lantern Silhouette Centerpieces
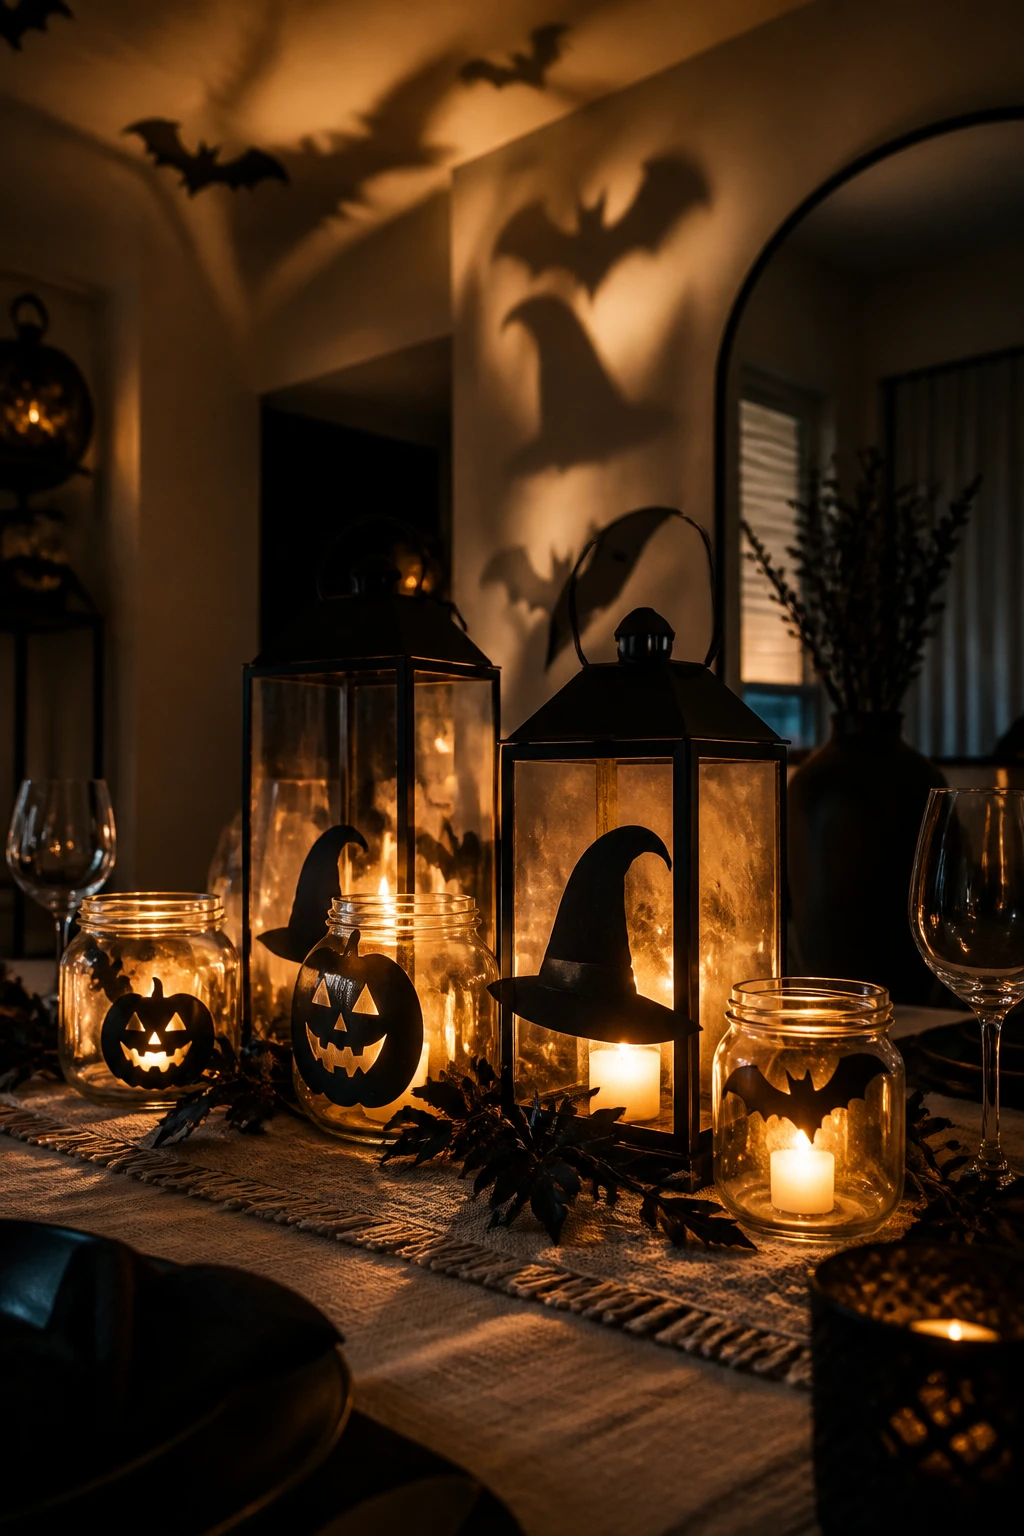
Ambient lighting can make your space look intentional and luxe. DIY candle-lantern silhouettes cast dramatic shadows that read as high-end decor with zero fuss.
What You’ll Need:
- Craft paper or cardstock in black
- Glass lanterns or jars
- LED tea lights
Cut your silhouette shapes (witch hats, pumpkins, bats) and tape them inside the lanterns. The glow will throw moody silhouettes on walls and ceilings—trust me, it’s magical.
4. Spooky Wreaths That Look High-End
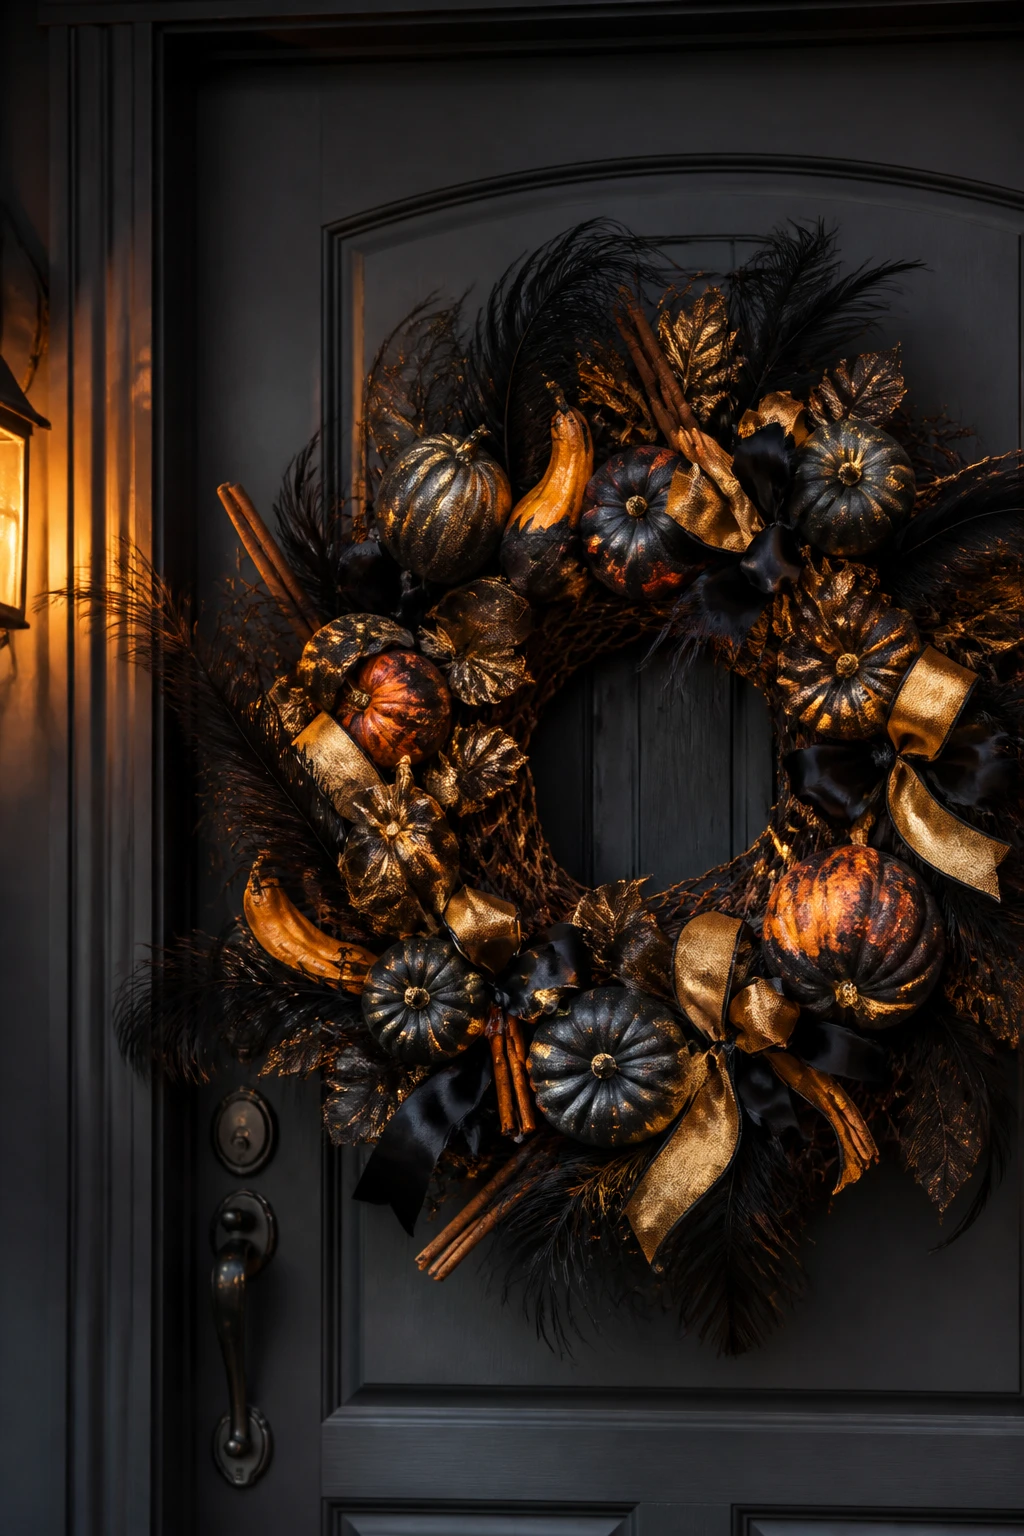
A wreath is your party invitation to the Halloween vibe. With a few tweaks, a plain wreath becomes a showstopper that doesn’t scream “craft store chaos.”
How to Build It:
- Base: a wreath form or mesh ring
- Faux gourds, black feathers, and cinnamon sticks for texture
- Ribbons with a hint of metallic for luxe shine
Layer elements in odd angles, then finish with a subtle spray of shimmer. Hang on a front door or above the mantel to greet guests with boss-level style.
5. Haunted Photo Wall Gallery
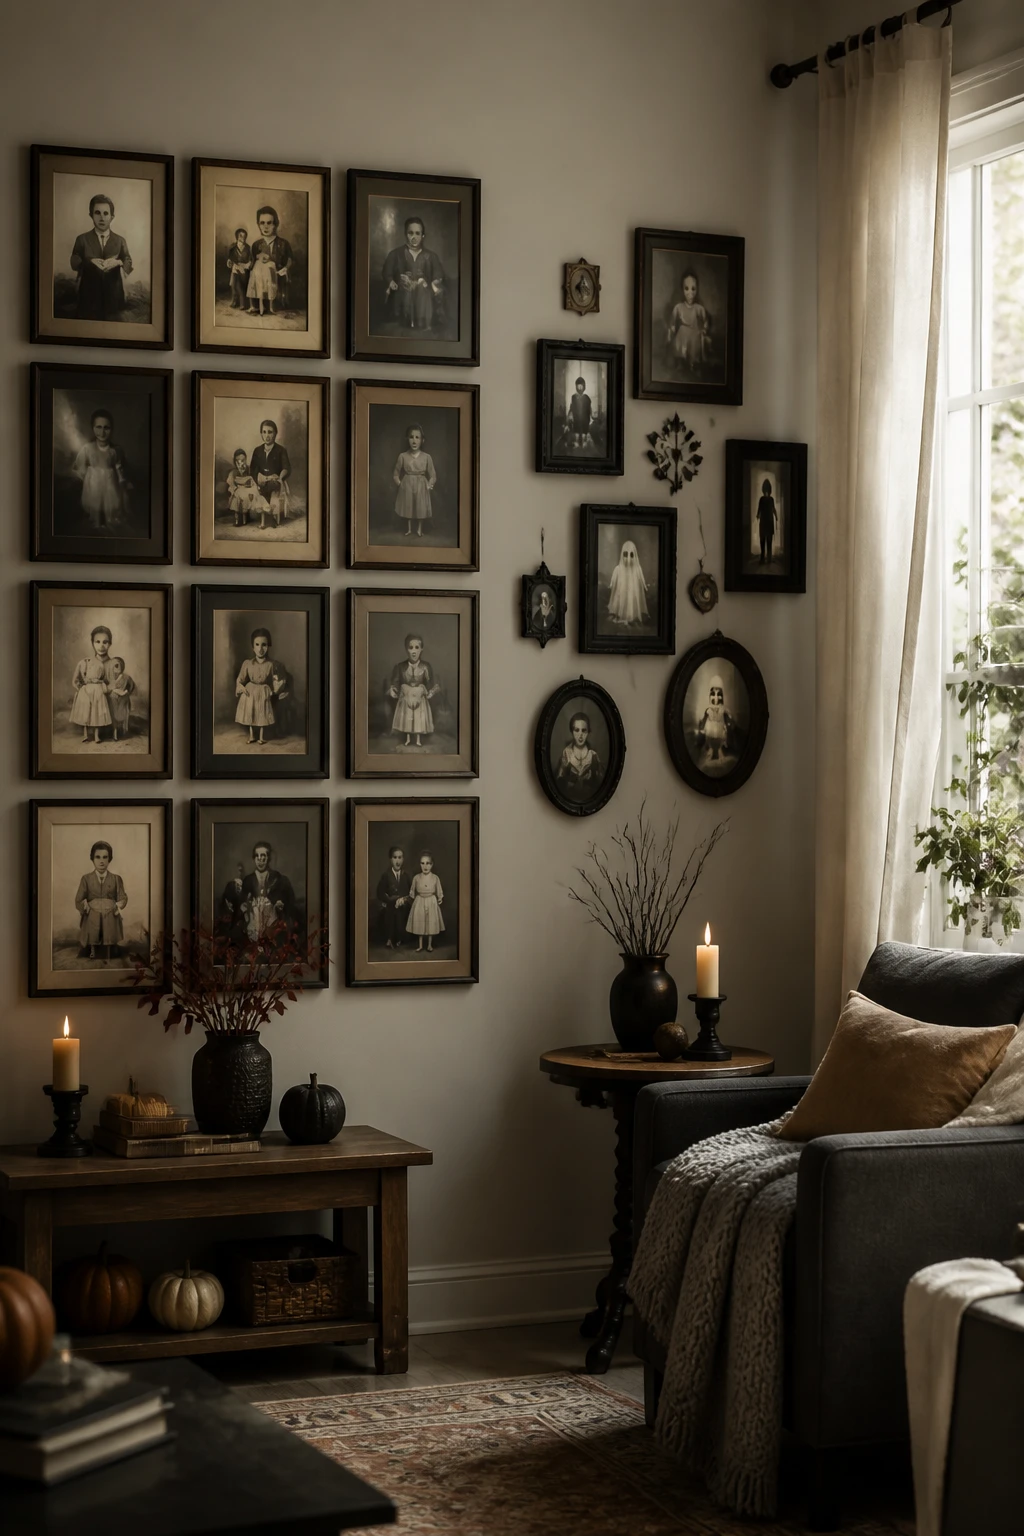
Merging nostalgia with a dash of fear makes for a million-dollar look on a tiny budget. A gallery wall is versatile and endlessly changeable for future holidays.
What to Include:
- Old family photos reprinted with a vintage border
- New, playful photoshopped “haunted” portraits (think eerie frames)
- Mix of black-and-white and sepia tones for cohesion
Arrange frames in a grid or a rogue constellation. It’s conversation-starting and stylish, plus you can swap in new pieces every year.
6. DIY Spiderweb Table Runner
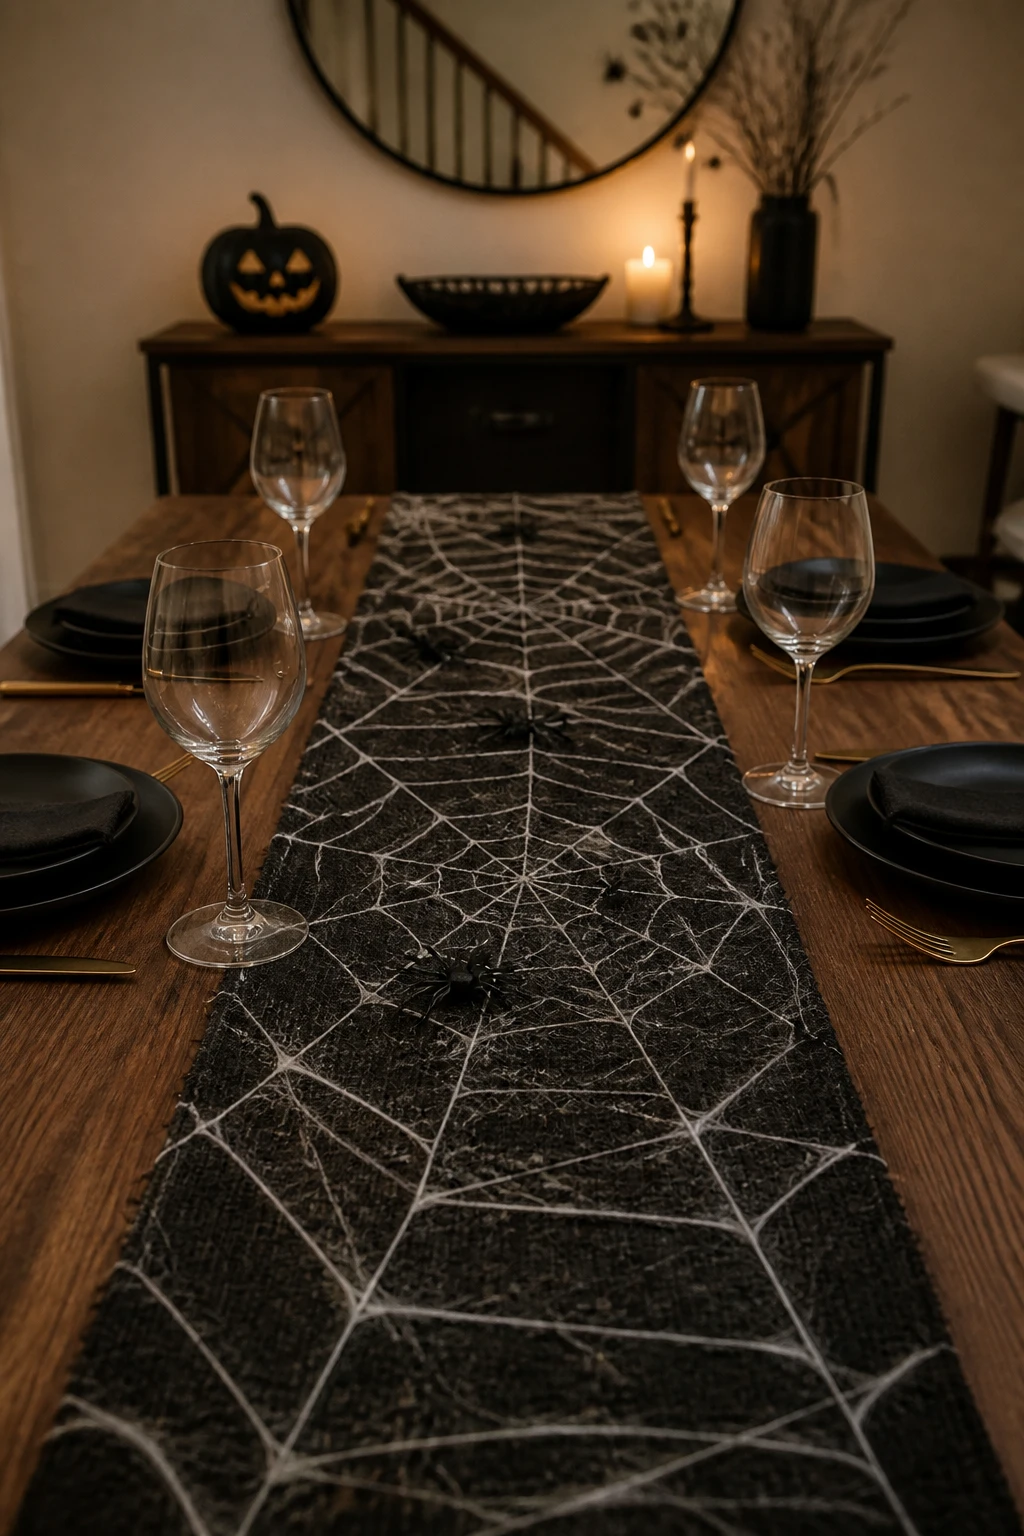
A spiderweb motif instantly signals Halloween chic. A DIY runner weaving faux cobwebs across the table looks intricate but is incredibly simple.
Materials:
- Black burlap or fabric runner
- White string or cotton thread
- A few plastic spiders for whimsy
Create concentric rings and connecting lines with a hot glue gun or craft glue. Drape over the dining table or an entry console for a centerpiece that quietly terrifies.
7. Floating Lanterns with a Faux Fog Effect
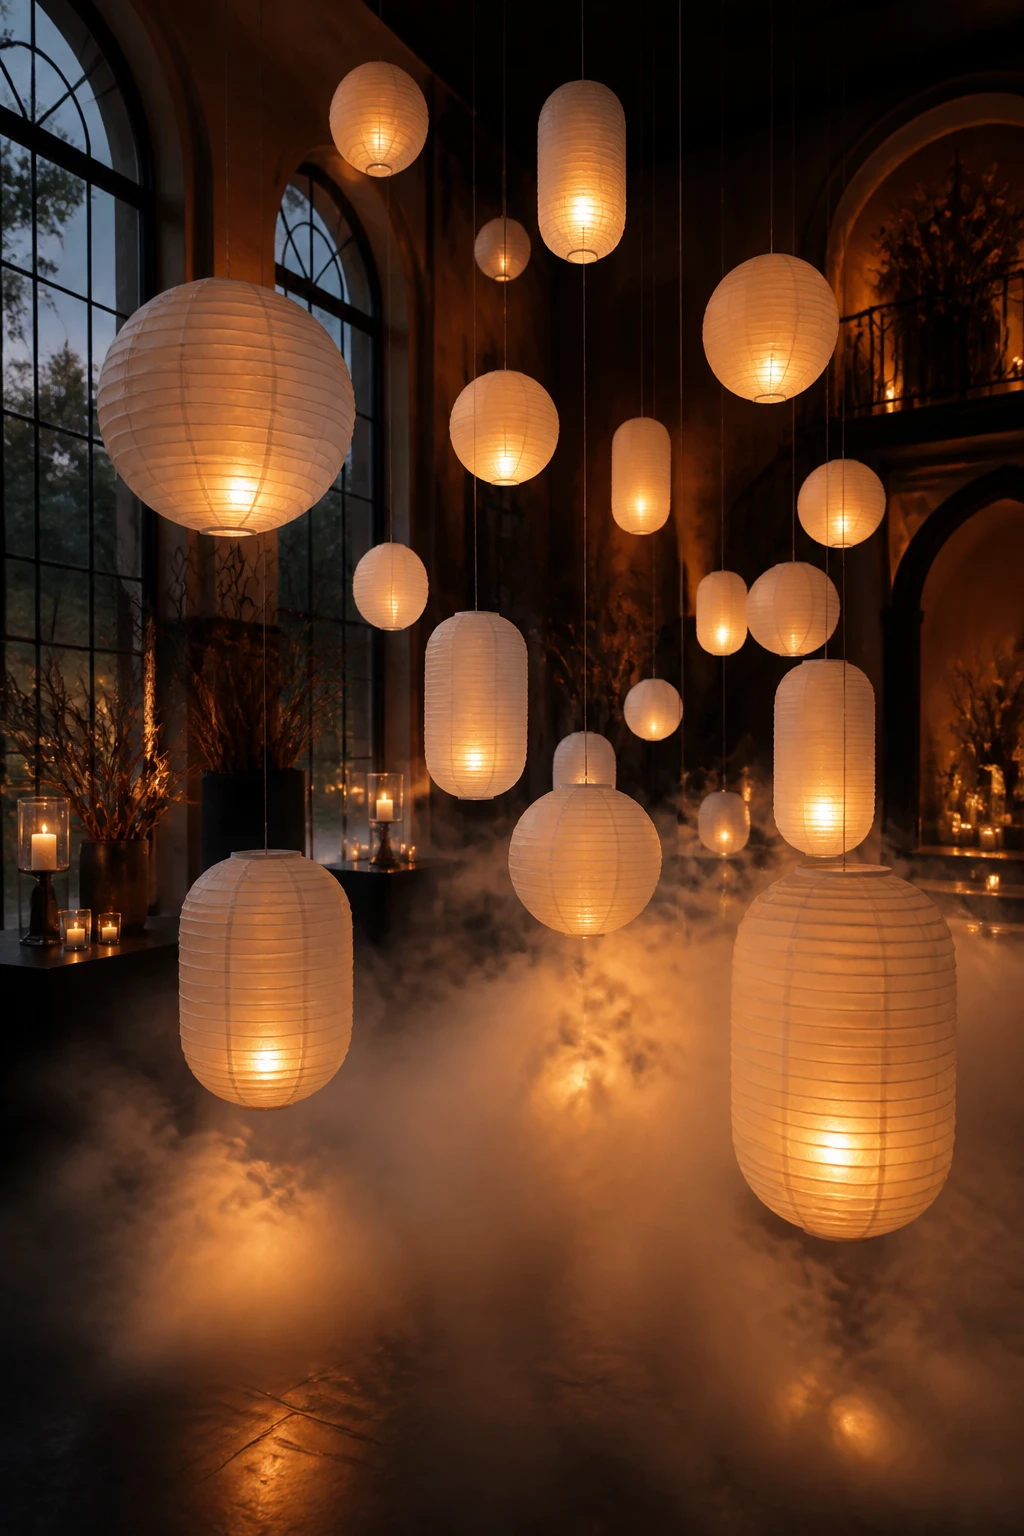
Floating lanterns add drama and a touch of mystique. With a cheap fog machine or dry ice trick, your space feels luxurious and otherworldly.
How to Pull It Off:
- Use lightweight paper lanterns in white or pale gray
- Place a low-watt LED inside and a subtle layer of mist around the base
- Hang at different heights for depth and movement
FYI, the fog effect works best in dim lighting and during the first hour of your party for the most ethereal glow.
8. Upcycled Lantern Jars with Spooky Fill
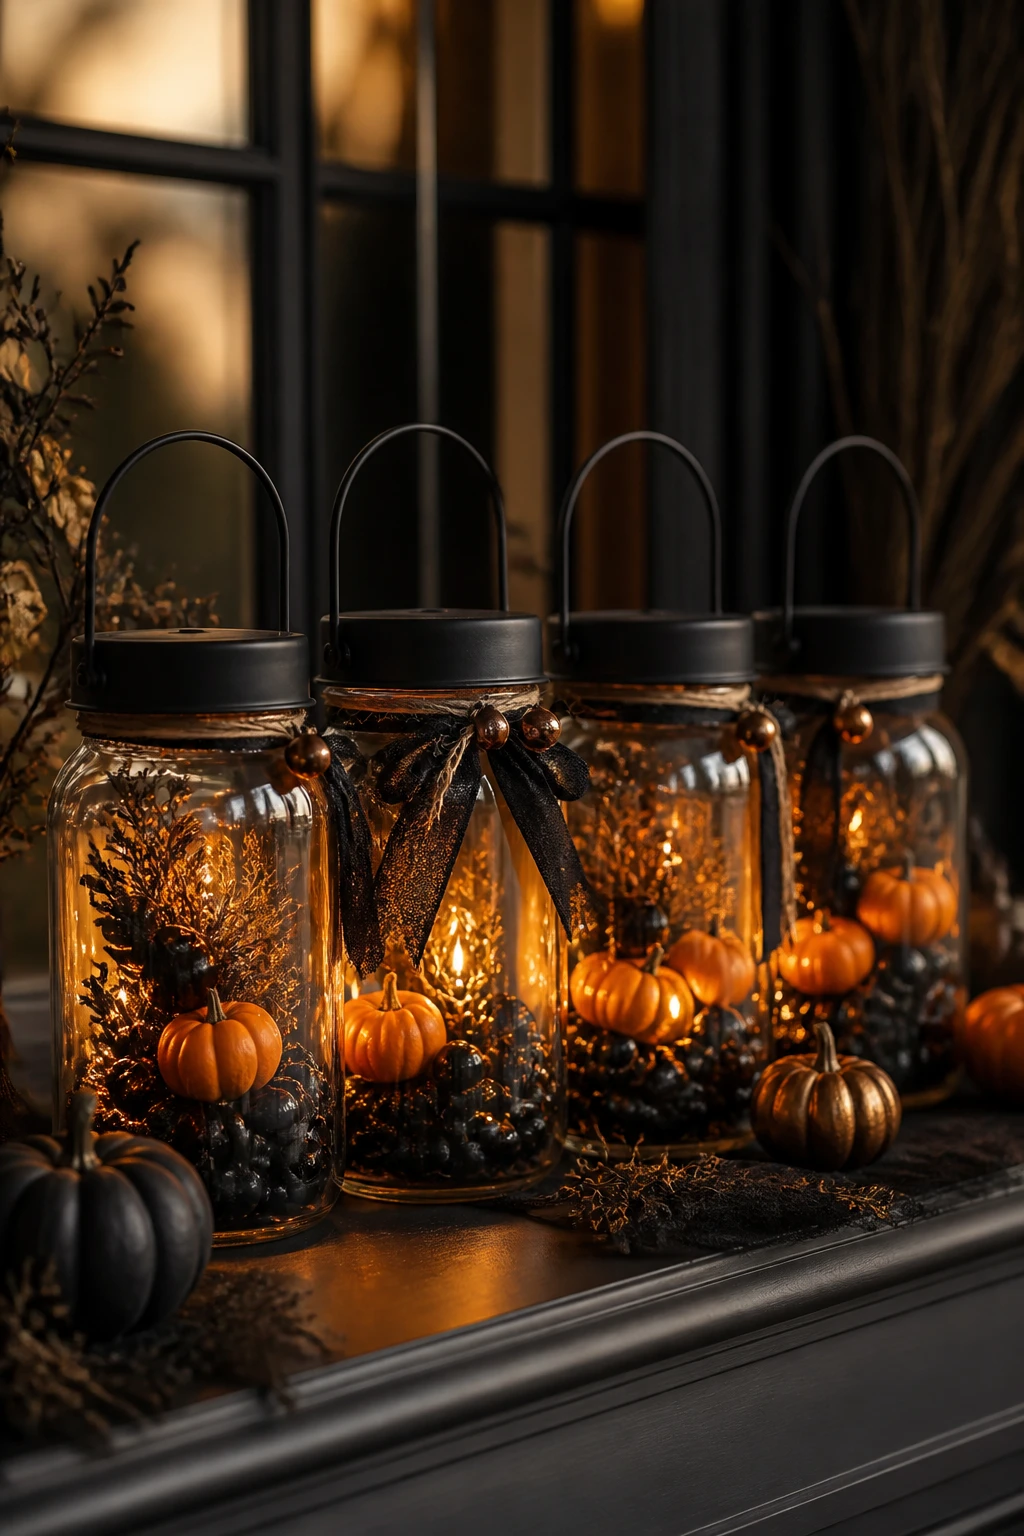
Secondhand jars plus a chill black-and-orange color scheme gives you an expensive vibe without breaking the bank.
Tips:
- Paint lids matte black and seal with a gloss topcoat for a luxe finish
- Fill with mini pumpkins, black marbles, or dried herbs for scent and texture
- Wrap twine or ribbon with a metallic accent for a polished edge
Line them on a mantel, window sill, or staircase. They’ll glow softly and look like they came from a boutique décor boutique rather than a bargain bin.
9. DIY Pumpkin Tops with Velvet Accents
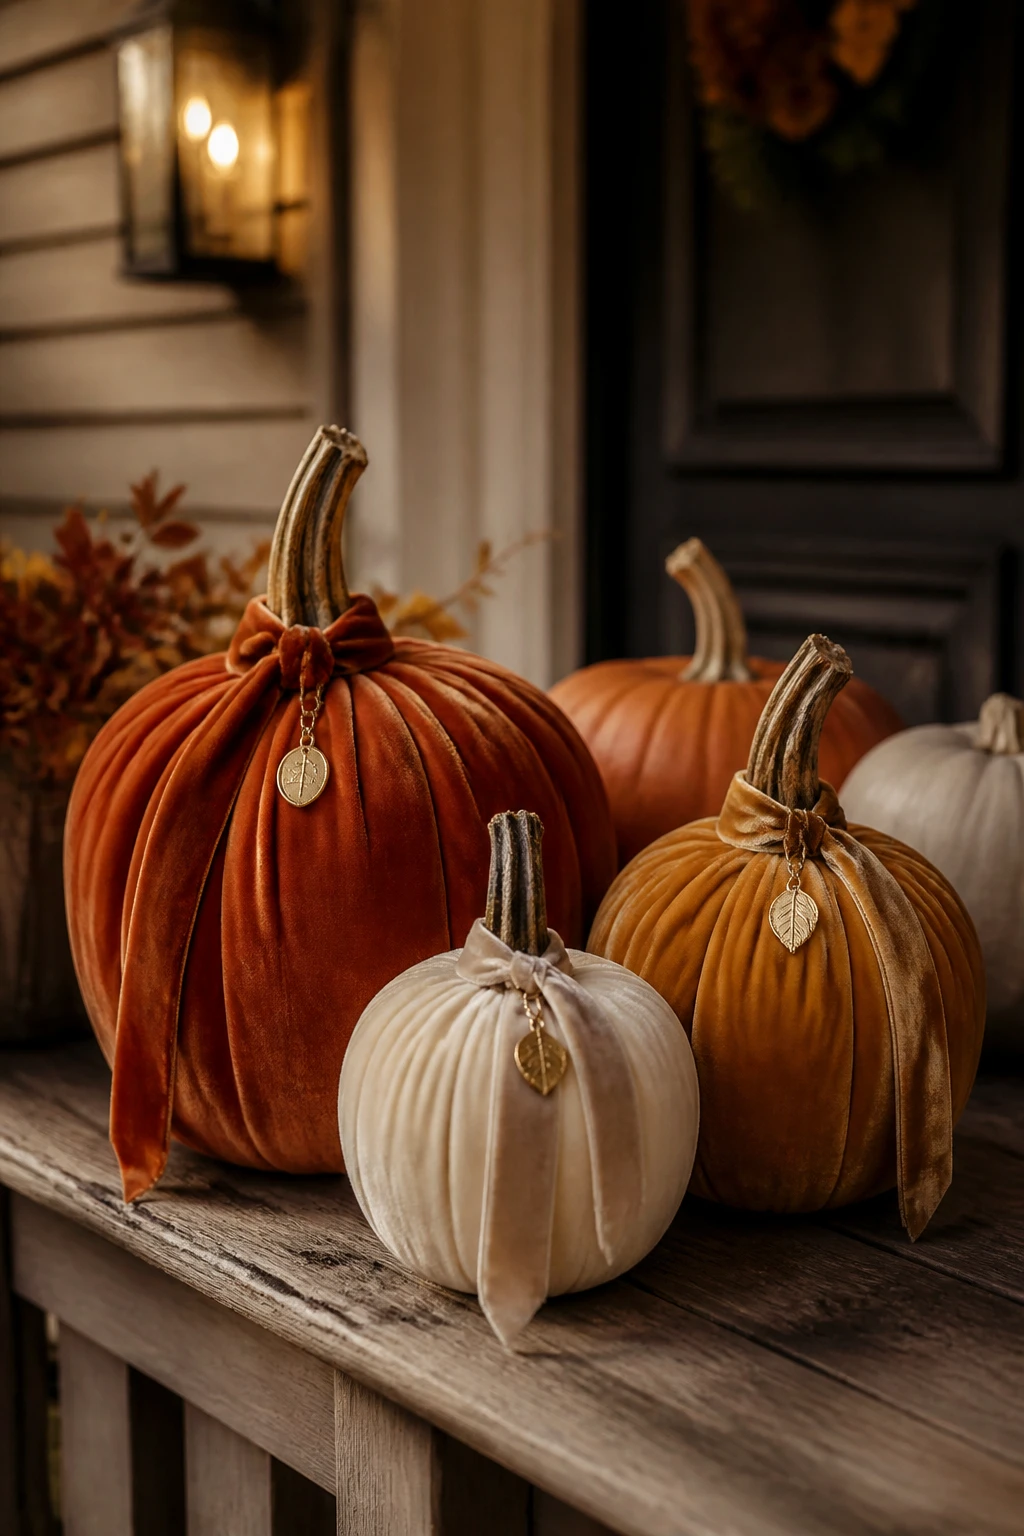
Pumpkins are Halloween classics, but you can elevate them with velvet ribbon and metallic stems for a high-end feel.
What to Do:
- Wrap the stems with thin velvet ribbon and secure with hot glue
- Add a slim metallic tag or charm for a hint of shine
- Place a few real pumpkins with similar hues to keep the look cohesive
Group a handful of pumpkins on a porch or inside a foyer. It reads luxe without being too obvious about the budget.
10. DIY Skeleton Hands Pop Into Place
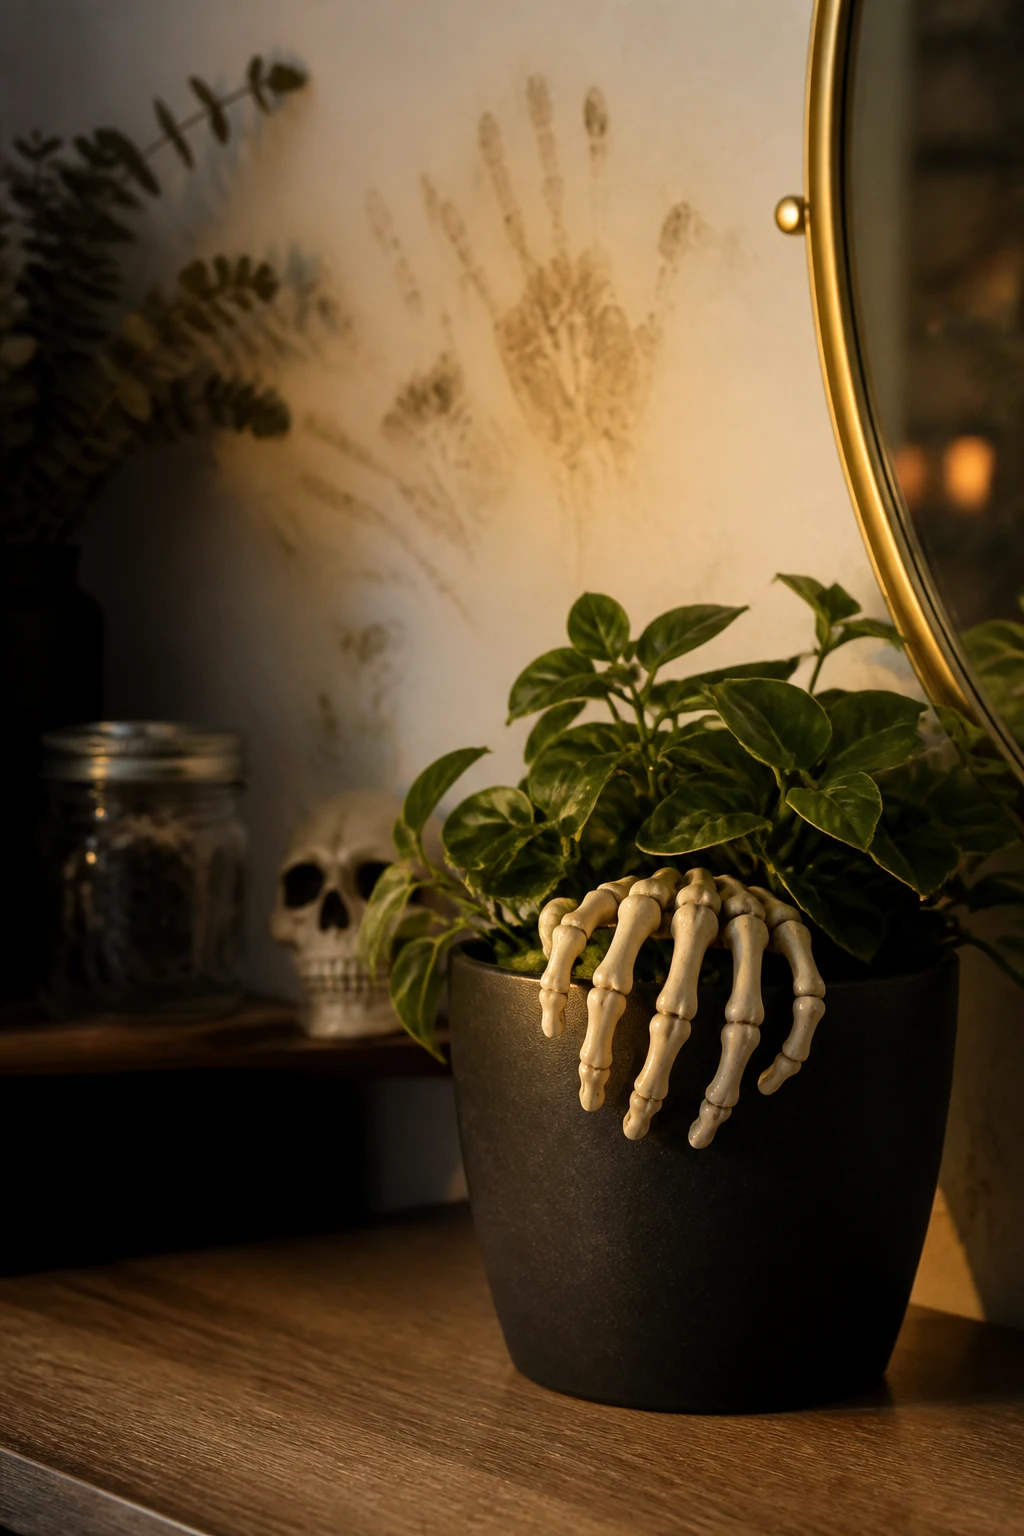
Skeletons never fail to be goofy and spooky at once. Create hand-y props that pop up from shelves, books, or planters for a playful scare.
Ideas to Try:
- Plastic skeleton hands tucked into plant pots with fake leaves
- Hands grasping the edge of a mirror or a jar lid for a spooky reveal
- Painted smudges on walls to imply recent ransacking by bones
These little surprises are dramatic without needing a full-costume scare. FYI, place them where curious guests will discover them.
11. Candy Corn Corner Pop with Painted Chalkboard Wall
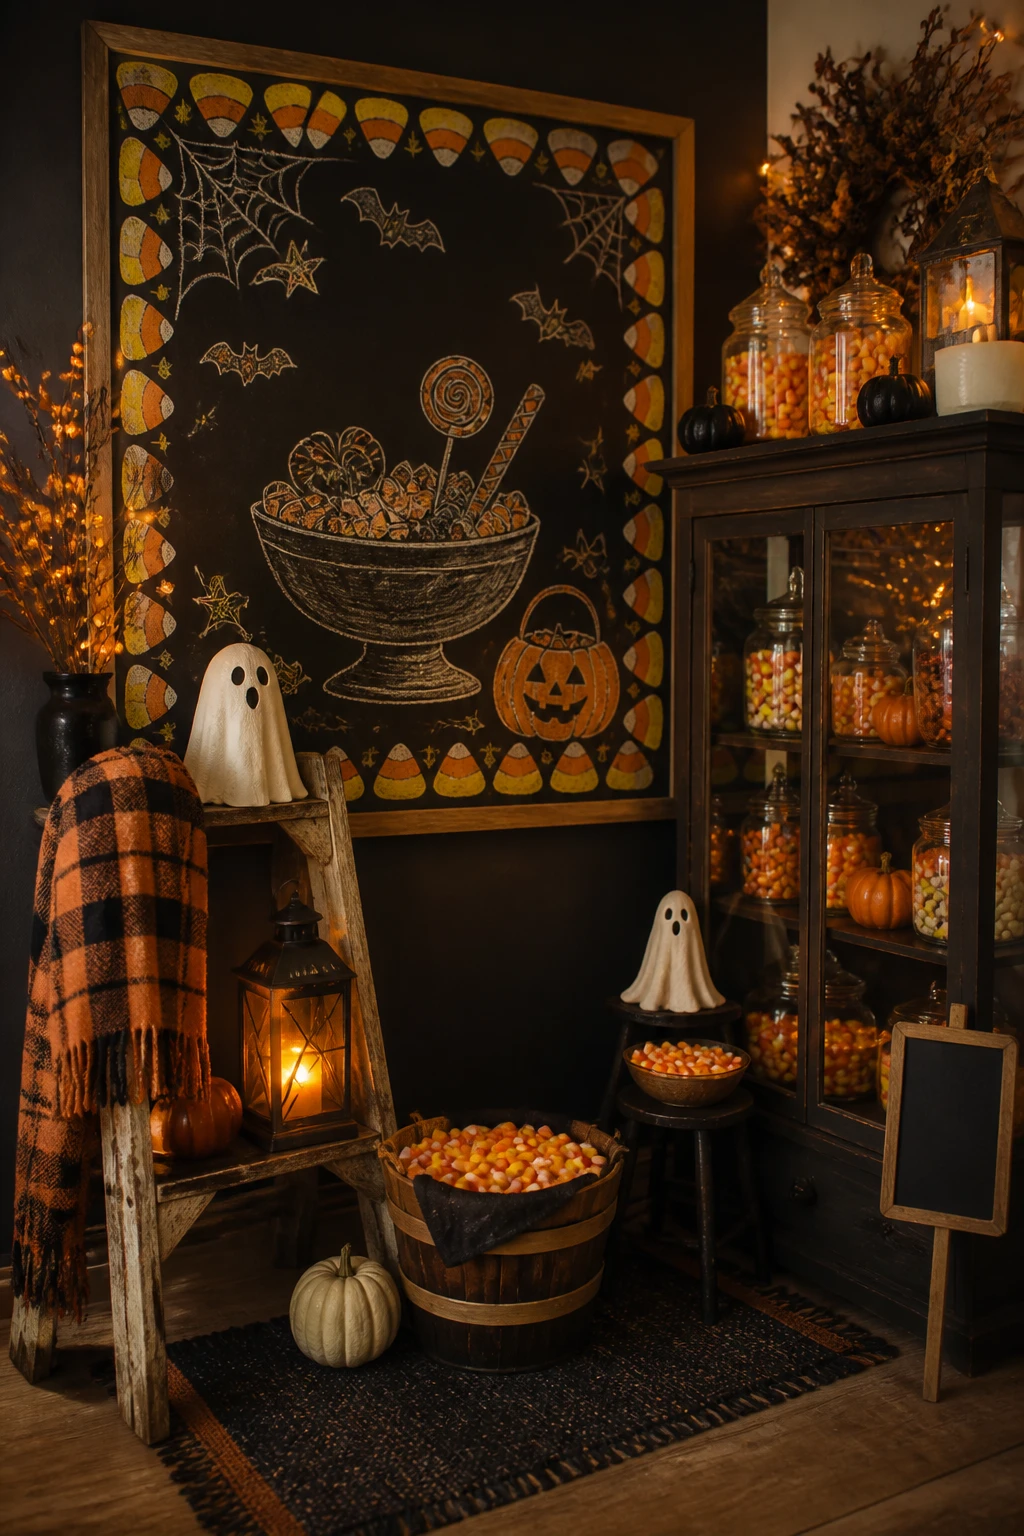
Turn a plain corner into a candy-adjacent candy store with a chalkboard wall and display. It’s charming, interactive, and looks surprisingly expensive.
What to Create:
- Chalkboard wall or large framed chalkboard
- Painted candy corn border as a guide for drawing scenes
- Small jars of candy and faux Halloween signage
Invite guests to write messages or quotes, and you’ll have a living decor piece that changes with the night. It’s whimsical and clever, not DIY-for-the-sake-of-it.
Ready to get started? These ideas prove you don’t need huge budgets or professional setups to achieve look-at-me Halloween decor. With a handful of simple materials and a dash of creativity, your home can feel forever festive and stylish.
Have fun experimenting, and don’t be afraid to mix and match elements from different sections. The best looks come from your unique twist—and yes, you can totally wow everyone without maxing out your credit card. Trust me, you’ve got this!